Article: 5 Common Paint by Numbers Mistakes (And How to Fix Them)
5 Common Paint by Numbers Mistakes (And How to Fix Them)
By Simon I., co-founder, Paint Kit Studio. Published 6 May 2026.
11:47 PM. Subject line: "Help???"
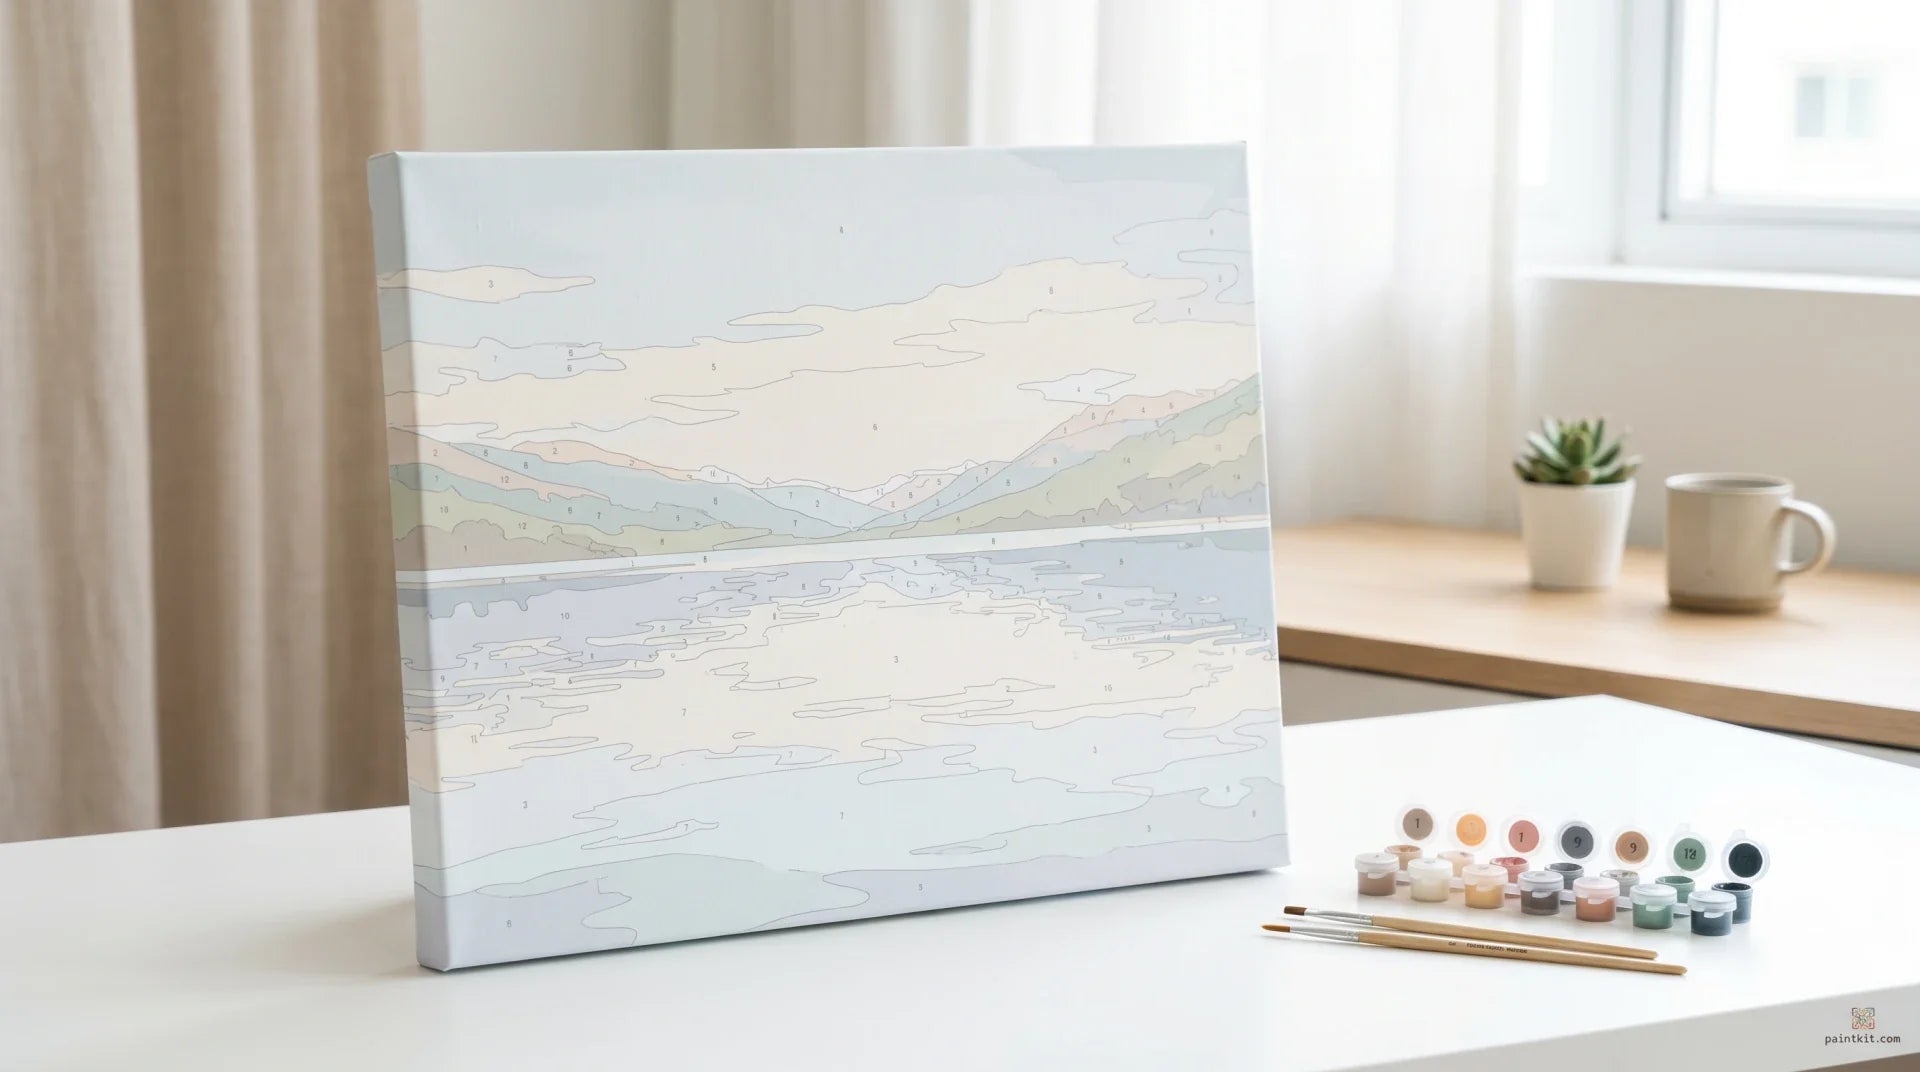
That was Janet. Photo attached: a half-finished mountain landscape with a giant magenta blob where the sky should have been clouds. She'd been painting section 47 with paint pot 14. Should have been pot 41. One digit off.
I wrote back the same night. Wait for it to dry. Paint the right colour over the top. Send me a photo when you're done.
Two days later, done. You can't tell anything went wrong. She framed it.
I run the support inbox at Paint Kit Studio. Janet's mistake is the one I see most. Four others come up almost weekly. Every single one is fixable in twenty minutes or less, with what's already in your kit. Here's what they are, what causes them, and what I do at home so they happen less.
How do I fix a wrong-colour section in paint by numbers?
You're in flow somewhere around section 30. Podcast's good. Twenty minutes pass. You look up and three sections are filled with paint pot 14 instead of 41. On a 36-colour kit it's almost always similar shades that swap: two greens, two blues, two warm pinks. Rarely something glaring like yellow where black should be. The numbers are tightly spaced on the canvas. Your brain skips a digit.
Stop. Don't try to wipe. Wet acrylic smears, and you'll spread the wrong colour into stuff you painted correctly an hour ago. Walk away. Acrylic dries by water evaporating into the air and being absorbed into the canvas, as Liquitex's FAQ on how acrylics dry explains (Liquitex, n.d., retrieved 6 May 2026). In our shop's normal room conditions a thin section films over in roughly 10 to 15 minutes. Eat a snack. Let the dog out. When the wrong colour's dry, paint the correct one over the top. One coat usually does it. Two if the wrong colour was darker.
Three things I do so it happens less:
- Read the canvas number twice before the brush touches anything. Once when planning the section, once right as I dip.
- One pot open at a time. The lid sits on the table next to the open pot. Hard to lose track when only one is uncapped.
- Desk lamp, not overhead light. A "16" looks like "18" in dim kitchen lighting. I lost two sections to that exact misread my first month and never forgot it.
Side note. If you've already messed up a fairly big patch, half the sky or a whole ridge, adopting the mistake is also valid. Painters change palettes mid-canvas. A magenta cloud reads as "stylistic choice" if you commit. I'm half-joking. Only half.
Why is my paint by numbers canvas bumpy and how do I smooth it?

You step back to admire your progress. Surface looks like a topographical map. Some sections smooth, others ridged where the brush dragged. A few spots almost crusty.
Two reasons, easy to confuse:
- Too much paint on the brush. Bristles loaded past the halfway mark put paint down too thick to self-level before it skins over. Brush marks lock in.
- Re-brushing tacky paint. Going back over a section five or ten minutes after the first stroke. The brush drags the partly-set surface and leaves ripples.
Fix depends on whether the bumps are still wet:
Wet: a clean, slightly damp brush, dragged in one direction with no pressure, smooths most of it out. Pick a direction. Commit. Don't go back and forth.
Dry: resist sanding. The canvas tooth is fragile and you'll grind through it before the lumps go down. Lay a thin top coat of the same colour over the whole section instead. Fresh paint flows into the valleys between ridges. Result is much smoother than what was there. Not perfect. Close enough that nobody but you will notice.
An Ohio customer wrote a five-star Loox review last year and slipped a tip in there I now use every day. Dip only the bristle tip. Halfway up is already too much. Wipe the side of the pot with the back of the brush before each stroke. And if you have to interrupt mid-section (phone, doorbell), finish that section first or wait until it's bone dry to come back. Never rework at the 5-minute tacky stage. That's where lumps live.
Why are the printed numbers showing through my paint?
You finish a yellow section. The printed "23" is faintly visible underneath. Like a watermark. The whole canvas has a ghosted look, especially in light colours.
This is opacity. Not a kit problem. Physics.
Pigments differ in how much light they scatter. Liquitex's pigment guide on titanium white describes it as "highly refractive" and the "powerhouse of white pigments," with about ten times the covering strength of zinc-based whites (Liquitex, n.d., retrieved 6 May 2026). Pale yellows, soft pinks, mint greens don't have that kind of scattering power. A single thin layer can't hide a black printed number. Darker shades cover fine. Lighter shades need help.
Two coats. Sometimes three for the very palest. Let each coat dry fully. The impatient second coat is what creates the ridges from the previous mistake. By coat two or three the printed number is gone.
The cleaner trick I use on pale sections: prime them with white first. White's high opacity blocks the printed number completely. Once that white layer's dry, my actual colour goes on top in one clean coat.
Sounds like extra work. Adds about one drying cycle per section. On a 48-colour adult kit where pastels are common, in my experience that single cycle saves close to an hour of second-coat work across the whole canvas. The difference between "amateur paint by numbers" and "looks like a real painting" on lighter palettes is often this single trick.
How do I revive a dried-out paint pot in a paint by numbers kit?

You took a week off. You pop open pot 22. It's a rubbery puck. The skin on top is harder than the bottom of a sneaker.
Acrylic dries by water evaporation, the same coalescence-and-capillary process Golden Artist Colors describes in their technical notes on acrylic drying (Golden Artist Colors, n.d., retrieved 6 May 2026). It's just slower in a sealed pot than on a canvas. Every minute the pot is open during a session, water leaves. Every loose lid leaks moisture between sessions. Two or three weeks of imperfect lid-sealing turns the consistency from cream to molasses to fudge.
How to revive it depends on how far gone:
- Slightly thick or sticky: one or two drops of water. Actual drops, the tip of a chopstick or toothpick dipped in water and tapped over the pot. Stir. Wait a minute. Stir again. Cream consistency comes back.
- Skin on top, soft underneath: peel the skin off with the back of a brush. Paint underneath is usually fine. Add a drop of water if it's borderline.
- Solid puck: several drops of water, leave it overnight. Stir vigorously next morning. Most of the time it comes back. If it doesn't, email us. We send replacement pots free, no questions. We do this around forty times a year. Always faster than letting someone abandon a kit they've put twenty hours into.
Things I do to avoid it. One pot open at a time. Lid pressed firmly until I hear the click. Kit stored away from windows and heaters. In our support tickets these two storage failures show up in roughly half the dry-out emails I tag and answer. And if I'm leaving a kit longer than a week, I add a single drop of water to each currently-low pot before sealing. Takes thirty seconds. Cheap insurance.
How do I fix a wet-paint smudge from my hand?
You finish a section. Lean over for the next one. Your wrist drags right across the section you just finished. Fingerprint-shaped streak across what was supposed to be a clean blue sky.
This is hand position more than painting. Your painting hand naturally rests on the canvas for stability. Fine in principle. Except when "stability" lands on a section that hasn't dried. Right-handers smudge to the left of where they're working. Lefties smudge right.
Smithsonian's Museum Conservation Institute notes that acrylic films stay soft at room temperature and hold onto dust and dirt, with even fingernail pressure capable of damaging the surface; the same guide mentions protective framing as a way to exclude dirt (Smithsonian Museum Conservation Institute, n.d., retrieved 6 May 2026). Which is one reason finished kits often get framed under glass.
Wet smudge: dab the worst with a damp cotton swab. Dab, not wipe. Wipes spread paint. Dabs lift it. Repaint once the underlying canvas is dry.
Dry smudge: paint the correct colour over the smear. Acrylic over acrylic covers cleanly. You won't see it.
Three preventatives:
- Paint in the direction your hand naturally rests away from. Right-handed: top-left to bottom-right, never the reverse. Lefties: top-right to bottom-left. Hand only ever rests on unpainted canvas or fully-dry sections.
- A clean A4 sheet of paper as a wrist-guard. Slides smoothly across the canvas. Shields whatever's drying underneath. I've used the same beat-up sheet for about thirty kits.
- Skip around. Paint a section upper-left, then jump to lower-right immediately. By the time you cycle back, the upper-left section is fully dry. Side benefit: the painting feels less monotonous.
The fix-by-condition cheat table
One row per mistake. Pick the column that matches whether the paint is still wet or already dry.
| Mistake | Wet fix | Dry fix |
|---|---|---|
| Wrong colour | Stop. Don't wipe. Wait. | Paint correct colour over the top. 1–2 coats. |
| Bumpy / ridged paint | Damp brush, one direction, no pressure. | Thin top coat of same colour. No sanding. |
| Numbers showing through | (N/A) | Second coat. White prime first for pale colours. |
| Dried-out paint pot | (N/A) | 1–2 drops water for sticky. Several + overnight for solid. |
| Hand smudge | Dab with damp cotton swab. Don't wipe. | Paint correct colour over the smear. |
What this all adds up to
Four years. Over twenty-three thousand kits shipped. I can count on one hand the canvases I've genuinely had to write off as ruined. Real damage means a torn canvas, a puncture, a coffee spill. Not a colour mistake or a lumpy patch.
One last observation. Your third kit will be noticeably better than your first. Not because you stop making mistakes. You'll still make all five of these, occasionally. But because by then you fix each one in five minutes flat without thinking. That's the actual skill ladder. Painting confidence isn't the absence of mistakes. It's knowing none of them ruin the canvas.
FAQ
Can a paint by numbers canvas actually be ruined?
Almost never by painting mistakes. Real damage means a torn canvas, a puncture, water damage or a coffee spill. Wrong colours, lumps and smudges all paint over cleanly. In four years I've seen fewer than five "actually ruined" canvases out of more than twenty-three thousand kits shipped.
How long should I wait between coats?
Around 10 to 15 minutes for a thin coat at normal room temperature, longer in humid conditions. The Liquitex drying-time guide above gives the underlying mechanism. If a coat still feels slightly tacky to a clean fingertip, give it five more minutes before going over it again.
What's the easiest mistake to fix?
A wrong-colour section. One or two coats of the right colour cover any wrong colour completely once the first layer is dry. Acrylic is fully opaque, so you'll never see what was underneath.
Do paint pots really dry out between sessions?
Yes, faster than most people expect. Acrylic dries by water evaporation, and even a slightly loose lid loses enough moisture over a week that a pot can go from cream to fudge consistency. A drop of water and a stir usually revives it.
Where to next
If you haven't picked a kit yet, browse our full collection of paint by numbers kits and pick something that catches your eye.
For something custom from your own photo, our custom paint by numbers kit turns any picture into a numbered canvas in roughly two weeks.
For grown-up subjects in soft or moody palettes, the paint by numbers for adults collection filters our catalogue to portrait, mountain, seascape and floral kits curated for adult painters.
Last updated: 6 May 2026.