The Complete Beginner's Guide to Paint by Numbers
By Simon I., co-founder, Paint Kit Studio. Published 2026-05-06.
I got an email last Tuesday that started like this. "Hi Simon, I bought your beginner kit in February. It's still in the box. I'm scared I'll ruin it." My usual reply is one sentence. You won't.
The fear is real, and I get why it shows up. Painting feels like a thing artistic people do, not regular people. A sealed kit on the kitchen counter isn't doing anything to argue otherwise. So most first-timers stare at the unopened box for two or three weeks before they crack it. A few never do. Which is honestly the saddest part of running this business. The whole point of the format is that it's built for the person who's never held a brush. The kit is the answer to the fear. But the fear is what keeps the kit closed.
Anyway. Let me try to argue you out of it.
You don't need art school. No years of practice. No special grip, no "talent." The numbered guide handles every artistic decision before you ever pick up a brush. Color choice, value contrast, where the edges go. All baked into the printed numbers. You bring the patience and a couple of evenings. The system does the rest.
This walks through everything. What's actually in the box. How to set up. The seven steps for your first canvas. What to do when you finish. And the answers to the five questions I get asked the most. Around 1,900 words. Pour a coffee.
Key takeaways
- A paint by numbers kit gives you a numbered canvas, pre-mixed acrylic paints, three brushes, and a reference sheet. No experience required.
- Paint your darkest colors first. Single biggest beginner trick. Saves you from the most common slip-fixes later.
- Work one number at a time. Outline first, then fill. Two thin coats beats one thick coat.
- Beginner kits use 24 colors and run 8 to 12 hours. Advanced kits use 48 colors and run 18 to 30.
- Mistakes are almost always fixable. Acrylic is opaque. Let the wrong color dry. Paint over it.
Bottom line: if you can match a number to a color and stay roughly inside the lines, you can do this.
What is paint by numbers, exactly?
Imagine a coloring book for adults. Now imagine the colors are pre-decided for you and the result actually looks like a real painting. That's basically it.
The canvas comes pre-printed with numbered sections. Each number maps to one specific paint pot. You match number 5 on the canvas to pot 5, fill in every section labeled 5, then move to number 6. The painting takes shape one number at a time. Most beginners need three minutes of looking at a kit before they get it.
The format goes back to the late 1940s. Dan Robbins, working at the Palmer Paint Company in Detroit, came up with the idea, and Palmer started selling the first commercial kits in 1951 under the "Craft Master" brand. By 1954, per a Smithsonian Magazine retrospective, "the company had sold more than 12 million of the kits" (Smithsonian Magazine, 2019, retrieved 2026-05-06). People hung them in their living rooms. Today's kits are sharper. Pre-stretched canvas instead of glued cardboard. Pre-mixed acrylics with proper opacity. Designs that go from realistic animal portraits to detailed cityscapes.
The reason it works for total beginners is that the system handles every artistic decision before you touch the brush. You're not choosing colors. You're not deciding whether the shadow under that flower should be cool or warm. Someone already did that work and printed the answer onto the canvas. Your job is the meditative, repetitive, oddly satisfying part. The part that's easy to learn but slows down time, in a good way.
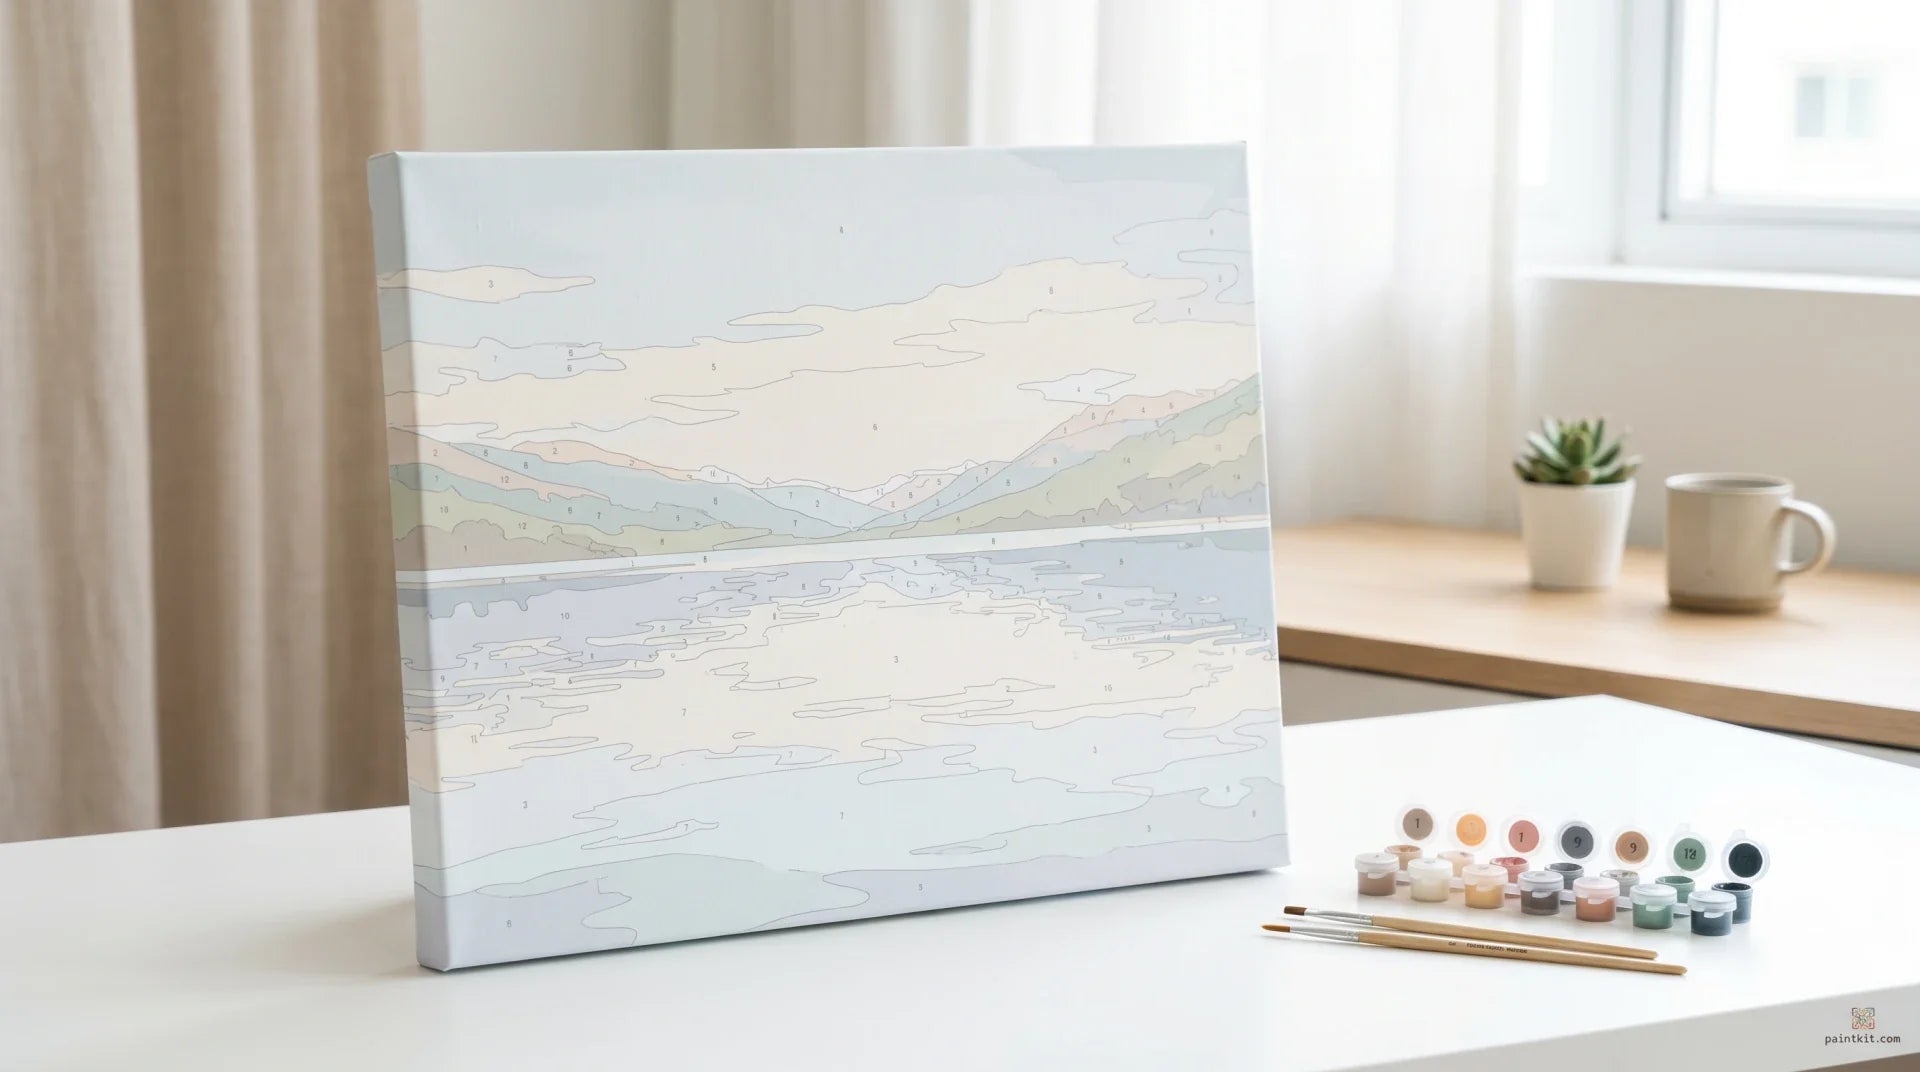
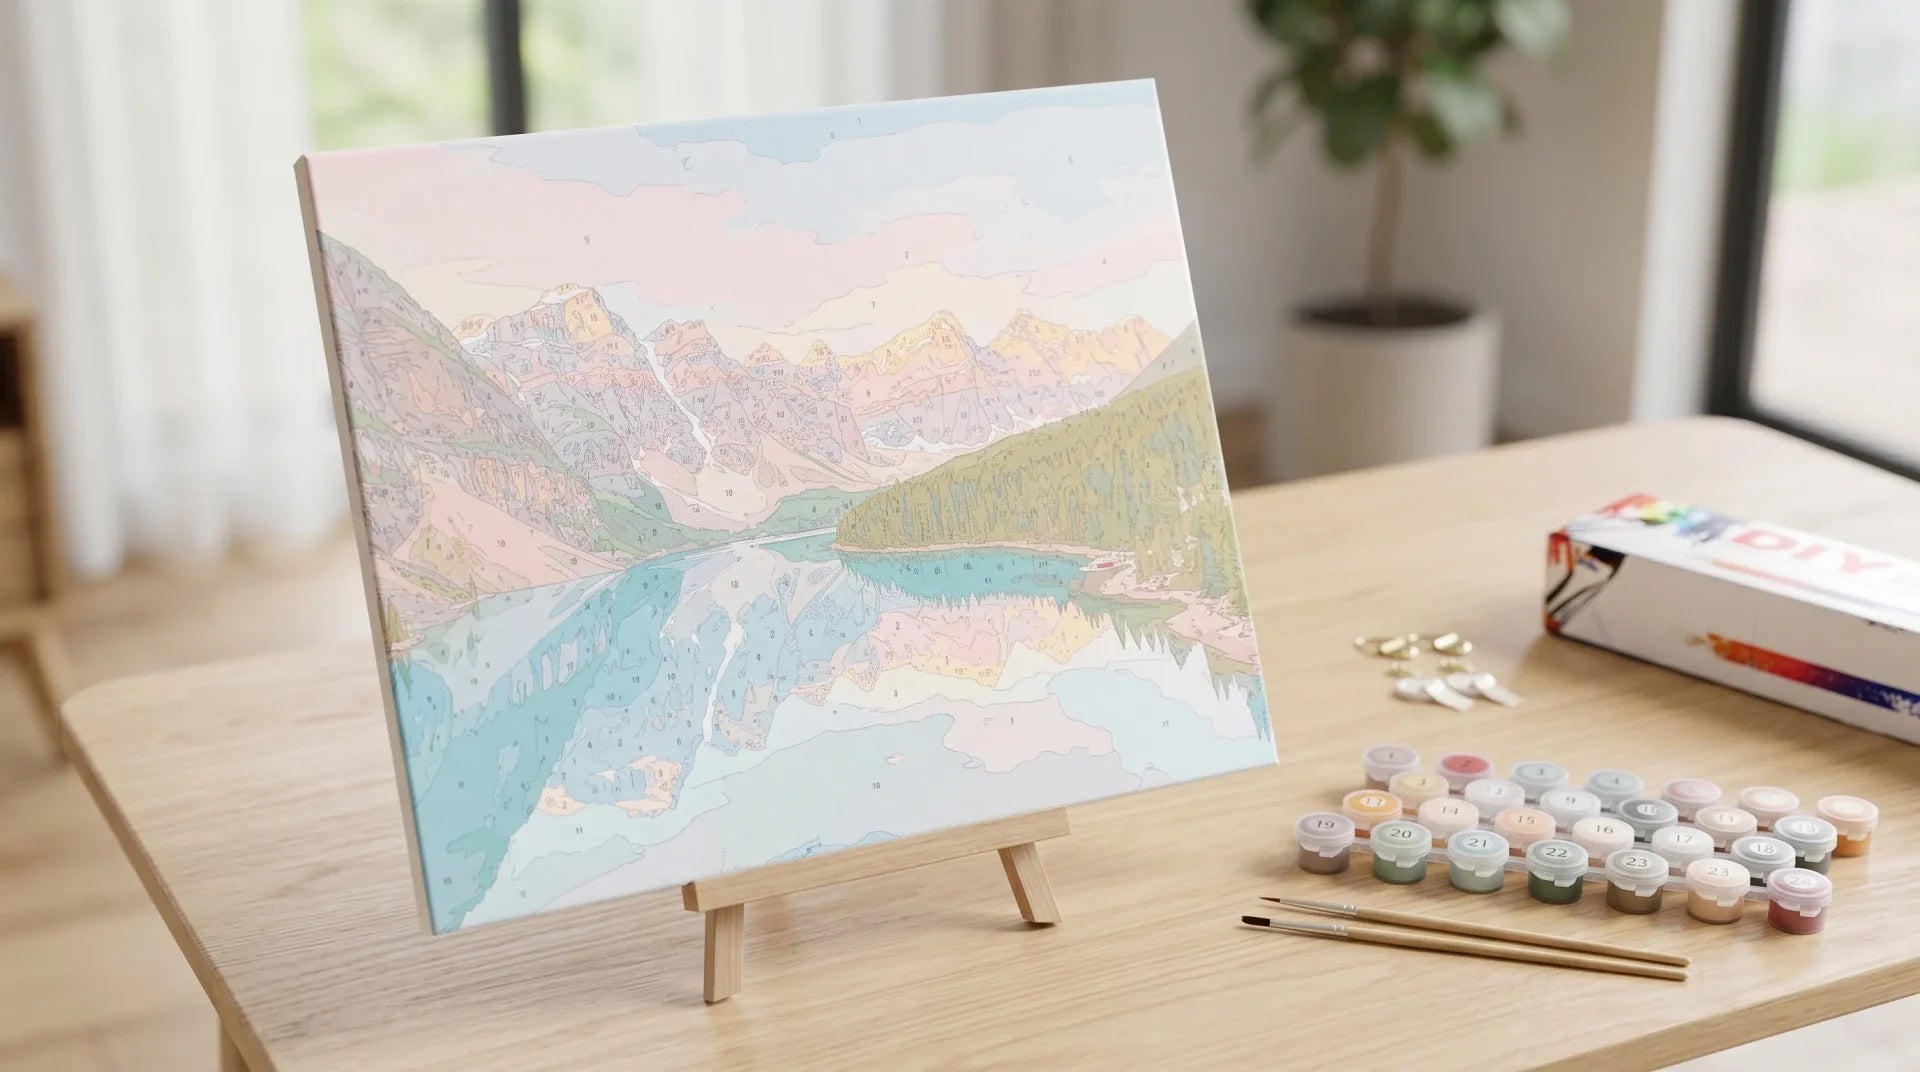
What's actually in the box?
Every Paint Kit Studio kit ships with everything you need to finish the painting. No trips to the craft store, no shopping list. You get a pre-numbered cotton canvas, pre-stretched on a sturdy wooden frame at 16 by 20 inches. You get the numbered acrylic paints, non-toxic, pre-mixed, in small white plastic pots with snap lids. Depending on the difficulty level it'll be 24, 36, or 48 individual pots. You get three brushes. A small detail brush for tight sections. A medium brush for most areas. A larger one for backgrounds. Wooden handles, synthetic bristles. Decent quality, not toy quality. You get a full-color reference sheet showing what the finished painting should look like, which you'll prop up next to the canvas while you work. And a printed instruction sheet that walks through the basics.
One detail worth knowing about our kits in particular. Every box ships with more paint than the design technically needs. There's a buffer baked in. If you do still run low on a color (rare, but it happens), email us and we send replacement paint at no charge. No receipt-hunting, no proof of purchase. The replacements that go out the most are pots 14 and 41. Two numbers that look almost identical at a glance, especially under poor lighting. They get confused, and one of them runs out twice as fast as it should. We send maybe forty of those replacements a year. So if it happens to you, you're in fine company.
How should I set up my workspace?
Five minutes of setup makes the next ten hours much better. Don't skip this part.
The mistake most first-timers make is starting on a soft surface (couch, bed, lap) under bad lighting because they're impatient to begin. The painting suffers immediately and they can't figure out why. So.
What you want is a flat, stable surface at sitting height. A desk works. The kitchen table works. Anywhere your forearm can rest while the brush moves. Painting on your lap will give you sore shoulders inside an hour, and the canvas tilts every time you shift weight. I've seen the photos. Some of them haunt me.
For lighting, natural daylight is the gold standard. After dark, a bright desk lamp angled to keep its own shadow off the canvas does the job fine. The colors on the reference sheet were printed under daylight conditions, so painting under warm yellow incandescent light will throw your color matching off. Cool white LED is closer to neutral. If you only have warm bulbs at home, paint during the day or buy one cheap daylight lamp from a hardware store. Worth the eight dollars.
You'll also need a cup of clean water for rinsing the brush, paper towels or a rag for drying it, and the reference sheet propped up where you can see it without losing your place. A magnifying glass and a few toothpicks help on 48-color kits but aren't required. And cover the table. Newspaper, kraft paper, a cheap plastic sheet, anything. Acrylic dries in minutes and is genuinely awful to remove from a wood tabletop. Ask me how I know.
Step by step: how to paint your first canvas
Step 1: read the numbers before you paint anything
Before you open a single pot, spend 60 seconds looking at the canvas. Find the numbered sections. Match them to the paint pots. Get a sense of where the big background areas sit and where the detailed work hides. It's the cheapest mistake-prevention move there is, and almost nobody does it.
Step 2: paint your darkest colors first
The single most important habit a beginner can build. Darkest colors first. Lightest colors last. Always.
Acrylic is opaque, which means a lighter color easily covers a darker one. If you slip outside a line with dark paint, a lighter shade later in the session will cover it cleanly in one or two coats. If you go light first and then slip into a dark section, you're looking at three or four coats to fix it, and the surface gets thicker and lumpier with every layer. I've watched people grind through that the hard way and quietly start to hate the kit by the end. Don't be that person.

Step 3: work one number at a time
Pick one number, say 5, and fill in every section labeled 5 across the entire canvas before opening the next pot. Three reasons this matters. It cuts the number of brush rinses you have to do. It keeps every other paint pot sealed, so they don't dry out mid-session. And it gives you a real sense of progress as whole regions of the canvas finish.
The third one matters more than people expect. Painting motivation comes from feeling progress, and "finished number 5" is a much better feeling than "did a little of everything." That's why kits get abandoned at the 40% mark. Not because they're hard. Because progress disappears.
Step 4: outline the section, then fill it
For each section, paint along the border lines first with the small or medium brush. Once the outline is in place, switch to a wider brush and fill the middle. Painters call this "cutting in." It gives you much cleaner edges than trying to fill a section in one swoop. The cleaner the edges, the more the finished painting reads as deliberate rather than rushed.
Step 5: thin, even coats
Don't load the brush. A thin, even first coat beats a thick lumpy one every time. Most sections need two coats for full opaque coverage. Let the first coat dry (10 to 15 minutes is usually plenty for thin acrylic), then apply the second.
What's actually happening: as water evaporates out of the paint, the acrylic polymer spheres get "forced into ever closer contact" until they form "a continuous, cohesive film." That fusion step is called "coalescence." Golden Artist Colors lays it out in their drying technical notes (Golden Artist Colors, n.d., retrieved 2026-05-06). It's why fresh acrylic is sticky on the brush. The spheres haven't fully merged yet.
Step 6: top to bottom
Right-handed? Start top-left and work across and down. Left-handed? Top-right. The point is to keep your painting hand from dragging across paint that hasn't dried yet. Smudges from your own knuckle are the dumbest mistake there is, and the easiest to avoid.
Step 7: don't judge it mid-way
The painting will look patchy and weird until it's almost done. That's normal. Numbers vanish under the paint as you go, so until every section is filled in, you're staring at a mess of half-coverage and printed digits. The picture only "appears" once the canvas is fully covered.
A lot of first-timers panic at the 60% mark and convince themselves it's ruined. It isn't. Keep going. Trust the system.
Which difficulty level fits me?
Three difficulty tiers. The number of colors is the headline difference, but section size and detail density also change.
| Level | Colors | Completion time | Best for | Recommended categories |
|---|---|---|---|---|
| Beginner | 24 | 8 to 12 hours | First-time painters, gift recipients, anyone wanting a relaxing evening project | Animals, Flowers |
| Intermediate | 36 | 12 to 20 hours | Painters who've finished one or two beginner kits and want more nuance | Seascape, Mountains & Lakes |
| Advanced | 48 | 18 to 30 hours | Detail-driven painters with patience for tiny sections | Portraits, Cities & Villages |
If you're not sure where to start, pick beginner. Going up a level later is easy. Going down feels like a defeat, and a kit that's too hard is a kit that doesn't get finished. Almost every "still in the box" customer photo I've seen turns out to be a 48-color advanced kit that was an ambitious purchase. Beginners buy advanced kits with their dreams. Then their dreams sit in the closet.
What canvas size should I pick?
Our standard kits ship at 16 by 20 inches. Big enough to make a statement on a wall. Small enough that you can actually finish it without burning out. The size hangs well in living rooms, bedrooms, and offices. Gifts well too (gallery-ready, not souvenir-magnet). And it gives a first-timer a finished piece that feels real rather than toy-like.
The canvas arrives pre-stretched on a wooden frame, so you can hang it directly off a sawtooth hanger or picture wire. A separate frame is purely aesthetic. Some painters love the bare-canvas gallery look. Others want a wooden floating frame around it. Both are fine.
How do I get a finish that looks pro?
Five habits separate "fine" from "actually quite nice."
1. Seal every paint pot after every session
Acrylic dries the moment air hits it. Snap each lid back on, hard, at the end of every session. If you reopen a pot a week later and it's slightly thick, two drops of water and a gentle stir usually bring it back. Don't drown it. More water than that and the opacity dies, and a thinned-out paint shows the printed number through the first coat.
2. Two coats, every section
One coat will often let the printed number show faintly through. A second thin coat hides the number and gives the painting that rich, opaque look that says "finished," not "in progress." I'll admit I argued myself out of two coats on my first kit, just for the dark colors, where I figured the number wouldn't show anyway. It showed. Under afternoon daylight you could read pot 14 like a price tag. Two coats. Always.

3. Rinse the brush between every color
Rinse hard, dry on a paper towel. A trace of the previous color will muddy the next one, especially when going from a dark to a light. The brush also shouldn't transfer water onto the canvas, so dry it thoroughly. Two seconds on the towel.
4. Use a fine brush (or a toothpick) for tiny sections
Some numbered areas are barely a few millimeters wide. Don't try to force a medium brush in there. Use the smallest detail brush, or dip a toothpick directly in the paint. A wooden barbecue skewer also works in a pinch.
5. Don't try to finish in one sitting
Paint by numbers is meant to spread across multiple evenings. Most of our customers do 30 to 60 minutes at a time across one to three weeks. Hand fatigue and eye strain creep in around the 90-minute mark and make every brushstroke worse than the one before it. I've checked enough customer photos to recognize "rushed second half" on sight. Sloppier edges. Thinner coverage. Less care with the small numbers. Stop while you're still enjoying it.
What do I do once I'm done painting?
You finished. Now make it actually display-ready.
Let it dry, properly
Wait at least 24 hours after the last brushstroke before handling the canvas. Acrylic feels dry to the touch within minutes, but the polymer film keeps curing for a day. If you stack a stretched canvas face-down on something rough during that window, you can pick up texture you didn't paint on. Annoying. Avoidable.
Apply a varnish (optional, with a caveat)
Acrylic surfaces attract dust. The Smithsonian Museum Conservation Institute notes that "acrylic resins are non conductors and tend to have electrostatic charges on their surface which attracts dirt" (Caring for Acrylic Paintings, Smithsonian Museum Conservation Institute, n.d., retrieved 2026-05-06). So whether you varnish or not, dust protection matters one way or another.
If you do varnish, use a varnish made specifically for acrylics. Liquitex and Golden both sell removable acrylic-polymer varnishes in matte, satin, and gloss. Don't use a traditional dammar resin varnish, because the same Smithsonian guide warns that the solvent used to remove it can "dissolve or soften the acrylic paint layer" underneath. Spray-on or brush-on, either works. One thin coat, let it dry, then a second.
If varnish feels like one more decision than you have energy for, frame the canvas under glass instead. The Smithsonian guide calls protective framing "a good way to exclude dirt." Either approach handles the dust problem.
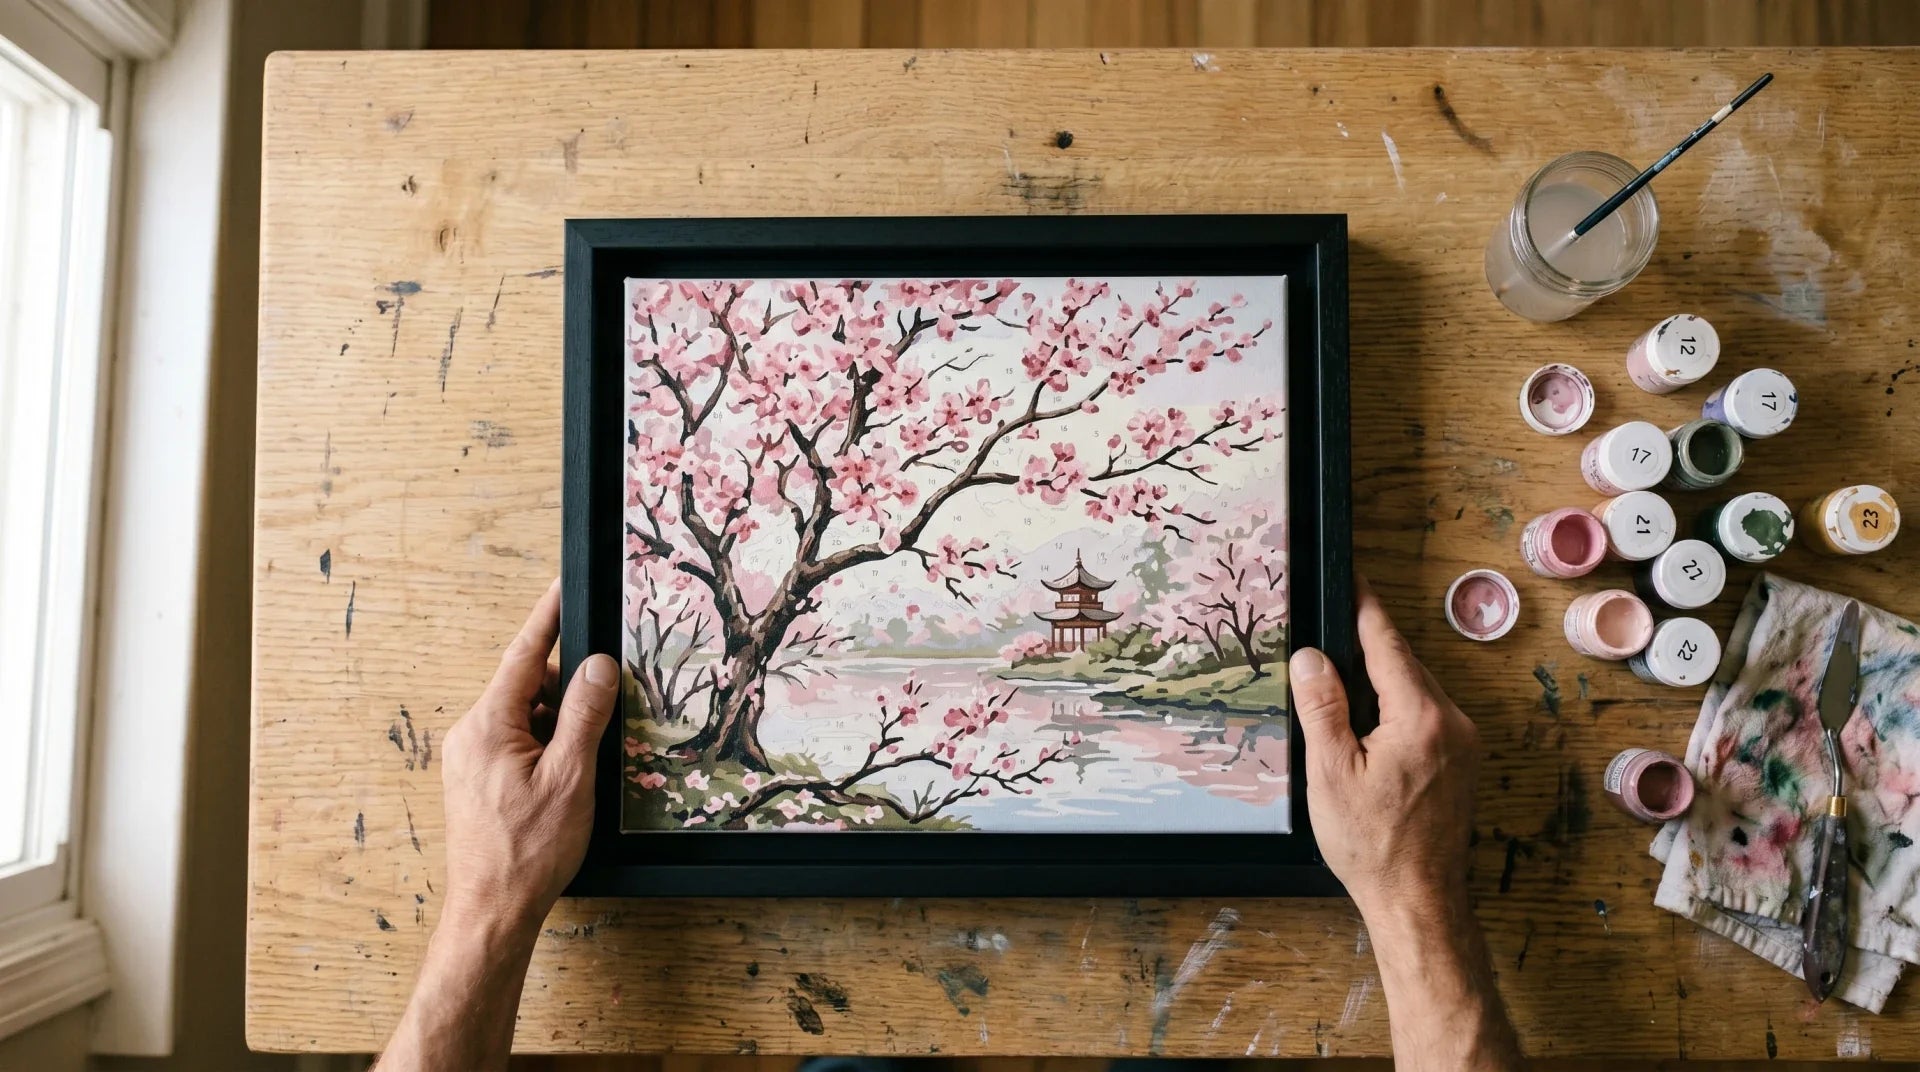
Frame and hang
The canvas is already on a wooden stretcher frame, so it can hang as-is. Add a sawtooth hanger or picture wire to the back and you're done. If you want a more polished gallery look, a local frame shop can put a simple floating frame around it. That keeps the painted edges visible while adding a finished border. The look I prefer, but it's a personal call.
Frequently asked questions
Do I really need zero painting experience?
Yes. Beginner kits are designed for people who've never picked up a brush. If you can match a number to a color and stay roughly inside the lines, you can do this. The "I'm not artistic" objection is the one I hear most often, and it doesn't survive contact with the first finished kit.
How long does it take to finish?
Beginner (24 colors) runs 8 to 12 hours total. Intermediate (36) is 12 to 20. Advanced (48) is 18 to 30. Spread across one to three weeks at 30 to 60 minutes a session, which is what most painters actually do.
What if I make a mistake?
Acrylic is forgiving because it's opaque. If you paint a section the wrong color, let it dry, then paint over it with the correct color. The new layer covers the old one fully. Mistakes are almost always fixable. Very rarely a reason to start over.
What if I run out of paint?
Every kit ships with extra. Running out is uncommon. If it happens, email us. We send replacement paint for free, no receipt-hunting required.
Is paint by numbers a good gift?
It's one of our most-given gift categories, especially for birthdays, anniversaries, and the December holidays. The fact that the recipient creates the finished piece themselves is a big part of why it lands well. You can also turn a personal photo into a custom kit (a family portrait, a pet, a vacation memory) for a more meaningful gift.
Ready to start?
Browse the full paint by numbers collection and pick a design that catches your eye. If it's your first kit, the Animals and Flowers categories run beginner-friendly. Forgiving designs, generous section sizes, and the kind of subjects that make a good first finished painting.
Already started and getting stuck? The 5 most common beginner pitfalls (lumpy paint, hand smudges, gone-dry pots) are walked through in 5 common paint by numbers mistakes and how to fix them.
If you are an adult coming back to a brush after years away, our paint by numbers for adults collection is built for exactly that, with calmer subjects and larger kits and none of the kid themes.
Last updated 2026-05-06. Written by Simon I., co-founder of Paint Kit Studio. We've helped thousands of first-time painters finish a canvas they actually want on the wall.