How to Paint a Pet Portrait: Markings and Eyes Carry the Painting, Not the Fur
By Simon I., co-founder, Paint Kit Studio. Published June 4, 2026.
Key takeaways
- Most pet-portrait tutorials drill fur technique. Fur reads as fur to any viewer. What makes the painting this pet, the specific animal someone loves, is the markings and the eyes.
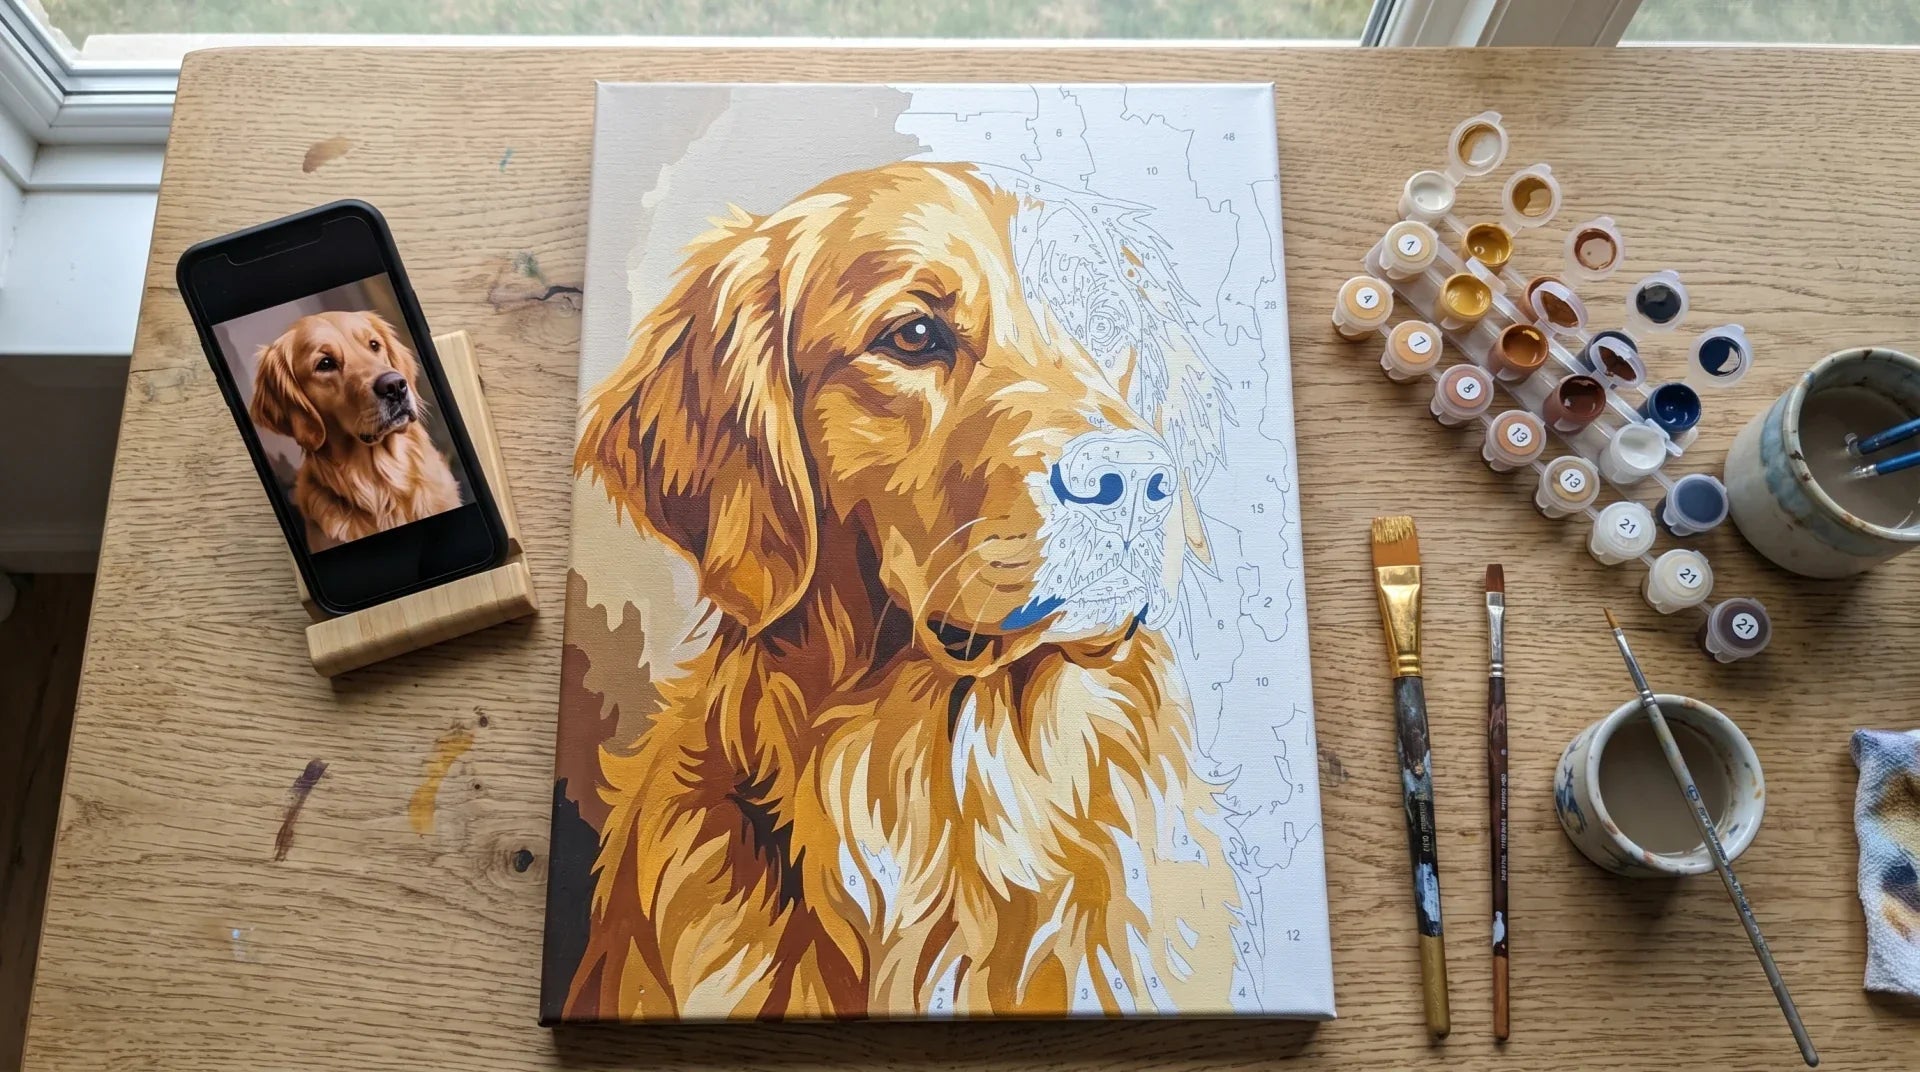
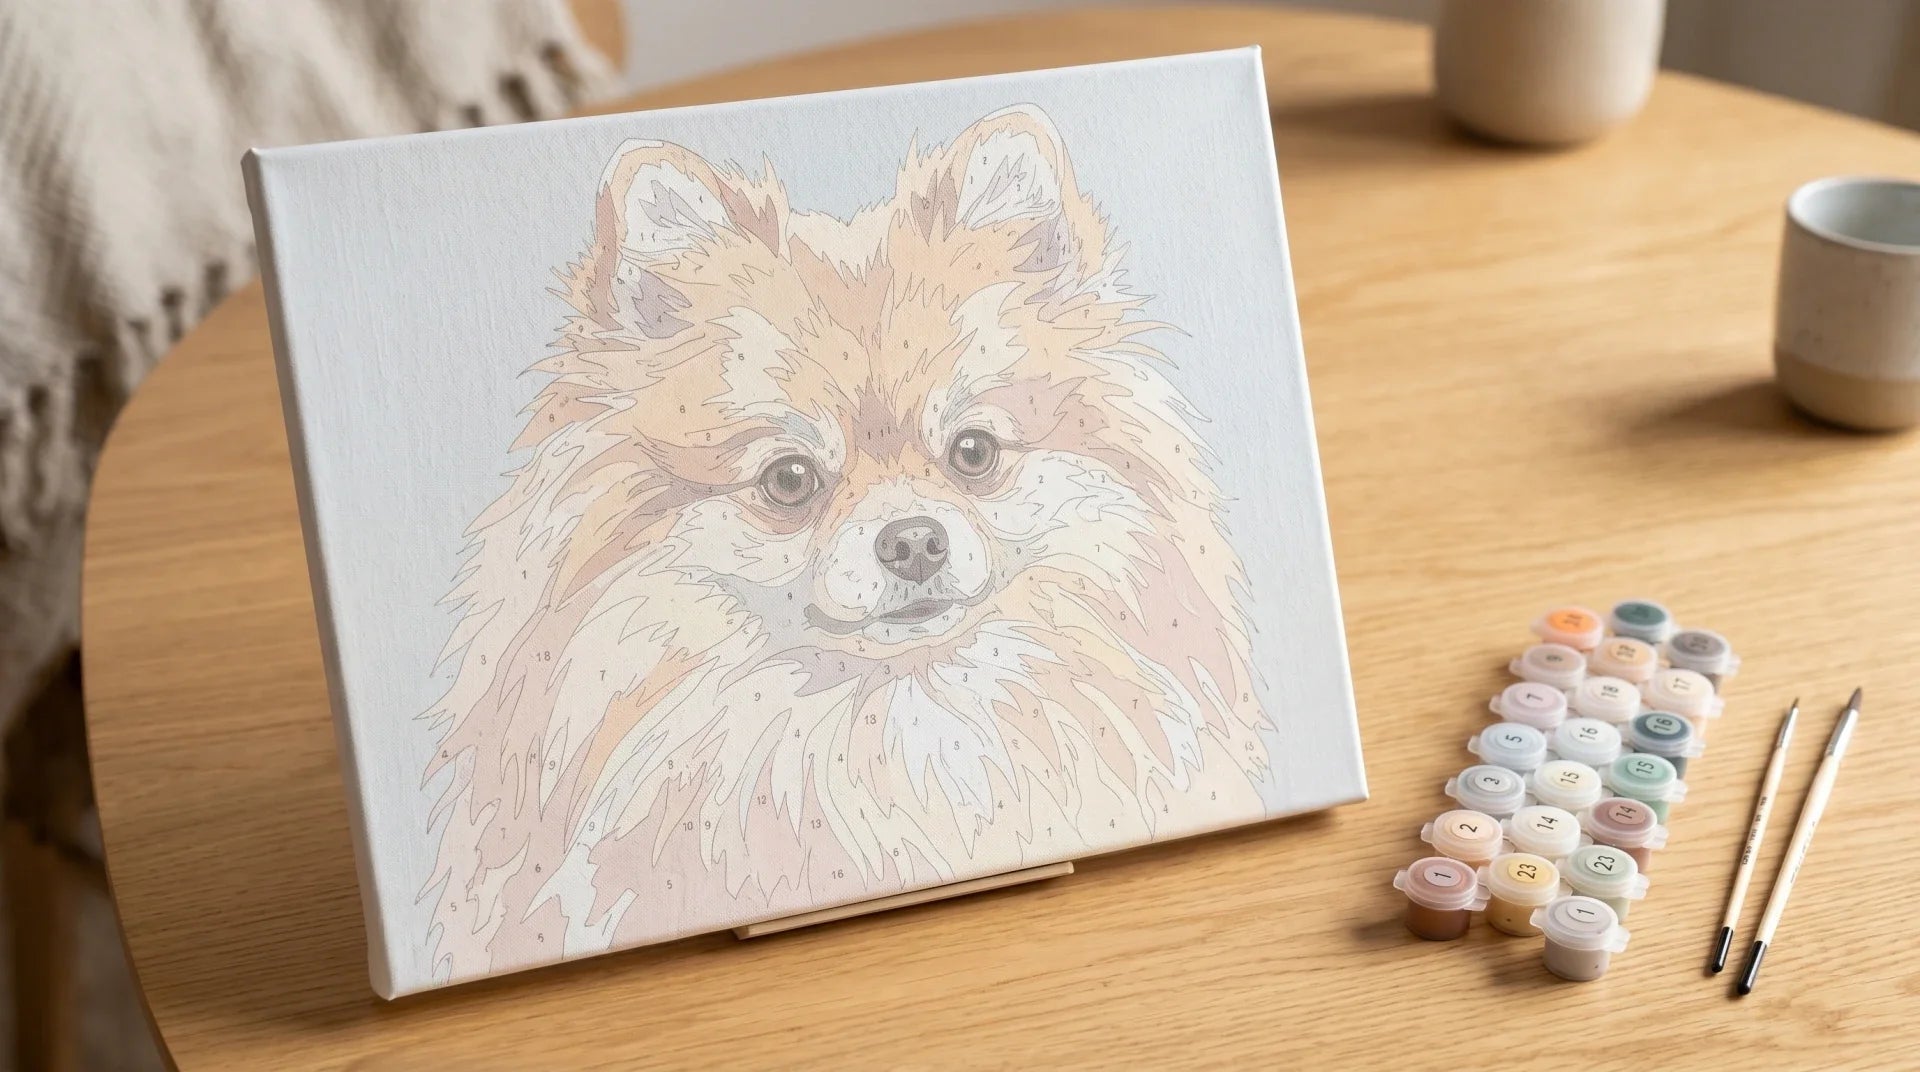
- A custom kit is built around your photograph, so the markings and the eye placement are locked in for you before the canvas leaves our shop. The painting is already a portrait of your pet on day one; your job is to finish painting it.
- The path for a beginner runs from a generic kit (sleeping dog or a sleepy cat, easiest), through a breed-specific or expression-specific kit, into a custom kit made from a photo of the pet you actually want on the wall.
- The mistake nobody warns you about: painting the eyes too dark on the first pass. Acrylic dries lighter than it looks wet, but a darkened eye reads as dead. Mid-grey first; darken last.
- Pet portraits are by far our highest-sentiment product. Custom kits account for over 570 reviews and most arrive with the same first sentence: "I cannot believe I painted this."
Bottom line: a pet portrait reads as your pet when the markings and eyes are in the right places. The kit locks both in for you so the painting can carry the recognition you need without your having to draw an animal from scratch.
A customer named Patricia ordered a custom kit of her cat Olive in February. Olive was an orange tabby with a small white blaze on her chest, two distinct mackerel stripes running over her brow, and one ear that had been notched by a sibling years earlier. Patricia sent us a photograph of Olive sitting in a kitchen window. The kit arrived at her apartment ten days later. She painted Olive across four weekends and emailed us a photograph of the finished canvas hanging above her sofa.
The painting reads as Olive. Not "an orange tabby". Olive specifically. The blaze is in the right place, the brow stripes are at the right angle, the notched ear is on the right side. The fur is loose, the background is rough, the whiskers wobble a little. None of that matters. What matters is that the markings and the eyes are correct. That email is most of what I want to tell you about painting a pet portrait.
What actually carries pet recognition
If you search YouTube for "how to paint a pet portrait", the top tutorials spend most of their runtime on fur. Fur direction, grainer brushes, layering from dark to light, scraping highlights with the back of a brush. None of this is wrong. It is just answering the wrong question for a beginner painting their own pet.
Recognition of a specific animal in a painting is carried by two things in roughly this order: the markings (the pattern of patches, stripes, blazes, masks, or solid blocks of colour that are unique to this specific cat or dog) and the eyes (the placement, the spacing, the colour, the highlight position). These two together form what we have come to call the pet's "signature geometry". Get the signature right and the painting reads as the animal across the room. Get it wrong and the painting reads as a generic orange tabby or a generic golden retriever.
The Tate's definition of portrait painting holds across species. They note that a portrait is a representation of a particular person
and that portraits have almost always been flattering, and painters who refused to flatter, such as William Hogarth, tended to find their work rejected
(Tate, "Portrait"). The principle generalises: a pet portrait is a representation of a particular animal. The flattery argument is interesting in this context too. Customers who send us photographs of their dog or cat are not asking for documentary realism; they are asking for the version that captures what they love. The kit handles the flattery by selecting the most readable photograph composition and amplifying the contrast on the markings.

Why the fur advice from YouTube stalls beginners
The fur-technique approach is not wrong technique. It is wrong order.
The standard tutorial assumes you can already draw the animal, that you have judged the proportions of the head to the body, that you have placed the eyes at the right spacing and the ears at the right angle, that you have identified where the markings sit. If any of that is wobbling, the fur lesson is being applied to a foundation that is not there.
The result is a painter who watches three tutorials, paints beautifully feathered fur, and ends up with a painting that does not look like any specific pet because the markings are in the wrong place or the eyes are spaced too far apart. The fur on top could not fix the foundation underneath.
The customers who finish their first pet portrait are not the ones who studied fur. They are the ones who started with a kit (custom or stock) and trusted the signature geometry the kit had already laid out.
The skill-isolation path
Paint-by-numbers was built in the 1950s to teach paint application by stripping out everything else. You do not draw the animal. You do not pick the colours. The kit handles the proportions, the eye placement, the markings, and the colour matching. What you actually practise is the one thing painting is mostly about: getting acrylic from a small pot into a defined zone of canvas at the right thickness.
For a pet portrait specifically, this means the most emotionally fragile parts of the painting (eye placement, marking accuracy, the proportions that make the animal recognisable) are not your problem to solve on a first attempt. They are pre-solved. Your job is to fill in the colour, in roughly the right order, with reasonable brush technique. By the time you have painted two or three pet kits, including one custom, you have developed a feel for where an eye should sit on a head and how a marking pattern should run, and you are ready to attempt one freehand.
Where acrylic comes in, and why it forgives you
Our kits ship acrylic paint. Not oil and not watercolour. There is a reason.
The Smithsonian Museum Conservation Institute notes that acrylic paint "dries" by evaporation of solvent of water
and that acrylic emulsion films will always be soft at room temperature
(Smithsonian MCI). The fast evaporation gives you a second pass on the eyes. Painted the pupil too dark? Wait twenty minutes and lift it back with a thin grey wash. Painted a marking edge that runs into the surrounding fur? Wait, then paint over the bleed with the fur colour.
Oil paint would have you waiting overnight before the second pass on the eye. Watercolour would let the marking bleed irrecoverably. Acrylic on a paint-by-numbers pet portrait is the friendliest surface there is, because the eyes and the markings both want at least one revision pass, and acrylic gives you that pass in the same sitting.
Eight pet-portrait kits that teach you something
The path I would walk a first-time customer through. The first one or two are stock kits to build the muscle; the last is the custom kit, which is the one most customers actually arrive at us looking for.
The Sleeping Dog Portrait is the kit I send to people who have never painted an animal at all. The eyes are closed, which removes the single hardest part of pet portraiture from the equation. What is left is muzzle, ears, and fur, and the sleeping pose gives you forgiving angles for all of them. Finish in two or three evenings.
The Sleepy Cat is the cat-side equivalent. Closed eyes, curled body, soft fur. A first cat painting almost always works because the face is at rest and the markings are at simple angles.
The Labrador Lake Portrait is a profile composition with a dog in a landscape. Profile views are easier than three-quarter or front-facing portraits because the muzzle is in pure side view. The lab silhouette is recognisable; you practise fur on a forgiving canvas.
The Adorable Kitten Eyes is the eyes-specific kit. A kitten face with wide-eyed proportions where the eyes are the painting. If you have finished a sleeping-pet kit and want to practise eye work, this is the one. Save the eyes for last, paint with a small detail brush, dry between passes.
The Yorkie Garden Dreams is a fur-heavy kit. Yorkies are long-coated, so most of the canvas surface is fur. This is the kit for the painter who has built confidence on three or four earlier pets and is ready to put real time into fur layering.
The Floral Dachshund introduces a distinctive breed silhouette. The body geometry is unusual (long, low) and the markings are smooth. Practise getting a recognisable breed shape from a kit that already drew it for you, so when you later attempt a custom dachshund you know what the silhouette demands.
The Cat Pearl Earring is the wildcard. A cat parody of Vermeer's "Girl with a Pearl Earring", with all the structural challenge of a classical portrait composition translated to a cat. Three-quarter view, eye contact, dramatic lighting. Reserve for after several stock kits, when you want to attempt something compositionally ambitious.
And finally, the custom kit. This is the path's endpoint and the kit that accounts for most of our pet-portrait orders. You send us a photograph of your own dog, cat, or other pet, and we convert it into a numbered canvas with matched paints. Olive, Patricia's cat, was a custom kit. We have done greyhounds, French bulldogs in Halloween costumes, an Australian shepherd with one blue eye and one brown, a parrot named Walter, two miniature donkeys, and one chihuahua named Pepito who arrived with a Christmas hat. The custom kit is the version of pet portraiture that hangs on the wall for the rest of your life.

The mistakes that quietly kill pet portraits
Fur technique is rarely the problem on a first pet painting. The mistakes that actually finish a pet kit's chance of looking like your pet are these.
The eyes painted too dark, wet. Acrylic looks darker wet than dry. A beginner paints the pupil in the first session, looks at it, decides it needs more black, and adds another pass. By the next morning the eye reads as a hole. Mid-grey on the first pass; come back the next evening and assess; only then push toward the darker numbered value.
The markings smudged. Markings (a white blaze, a black mask, a patch of orange across the back) need clean boundaries. Beginners feather the markings into the surrounding fur in an attempt to look painterly, and the markings lose their specificity. Keep the marking boundaries clean. The kit's numbered outline is there for a reason.
The whiskers added too early. Whiskers go on at the very end, over fully dried fur. Whiskers painted onto wet fur smear and read as scratches rather than whiskers. Save them for the last evening of the painting.
The background filled in last. Paint the background first. A background painted around an already-finished animal leaves hairline gaps where the colours meet, and the gaps show up as bare canvas peeking through. Background first, then the animal on top.
The fur colour assumed to be uniform. A coat that looks tan to your eye is actually warm yellow on the lit side and cool brown on the shadow side. The kit numbers will tell you this; trust them. Painting a dog or cat in one flat coat colour is the fastest way to kill the painting.
How long does a pet portrait actually take?
Realistic numbers, based on customer emails about timing.
A first stock-pet kit (Sleeping Dog Portrait, Sleepy Cat) takes around eight to twelve hours total, spread across three or four evenings. Most of the time is on the body fur, not on the face.
An eyes-focused or breed-specific kit (Adorable Kitten Eyes, Floral Dachshund, Labrador Lake Portrait) is in the twelve-to-eighteen-hour range. The eye work alone is a long session because you cannot rush it and acrylic needs to dry between passes.
A fur-heavy kit (Yorkie Garden Dreams) is fifteen to twenty hours. The breed-distinctive long coat asks for patience on the layering.
A compositionally ambitious kit (Cat Pearl Earring) is twenty to twenty-five hours, because the classical portrait composition wants two passes on the lighting in addition to the standard pet work.
A custom kit of your own pet is the wildcard. We have seen customers finish a custom labrador in two weekends. We have seen a custom border collie take three months. The variable is not the kit. It is whether the photograph is of an animal the painter has known and loved for years, in which case they slow down on the eyes, or whether it is a less emotionally weighted subject, in which case they finish faster.
Frequently asked questions
Should I paint my own pet from scratch or use a custom kit?
On a first painting, use a custom kit. Painting a beloved pet freehand is the highest-stakes possible first project: you are emotionally invested, you know exactly what the animal looks like, and every mismatch shows up loud. The kit handles the drawing, the proportions, and the colour matching so the emotional investment lands on the part you can actually control: the application. Most of our custom-kit customers tell us they could not have painted their pet without the kit removing the proportions question.
What if my finished painting still does not look like my pet?
Look at the painting from across the room. From close up, every pet portrait looks slightly off. The painting is designed to be viewed from at least six feet away. If from across the room the painting reads as your pet, the markings and the eyes are correct and the rest will settle as the paint dries. If from across the room the painting does not read as your pet, the eye spacing or one of the marking positions is the most likely culprit. Compare the painting to the reference photograph; the kit's line work will tell you which feature drifted.
Can I use any photograph for a custom kit?
Most photographs work. The best ones are taken at the pet's eye level, well-lit (natural light is ideal), with the animal's face clearly visible and the markings not in deep shadow. A photograph from above, looking down on the pet, makes the muzzle distort and the eyes squint. A photograph in dim light loses the marking colour. If your favourite photograph of the pet is taken from above or in low light, send it anyway; we can usually salvage the composition, but a better photograph will make a better kit.
How do I capture personality, not just appearance?
Personality lives in the eyes and the head tilt. A dog who tilts his head sideways when puzzled is a different dog from one who looks straight ahead. A cat who half-closes her eyes when content is a different cat from one with wide alert eyes. Pick a photograph that captures the look you actually associate with the pet, not the most flattering profile. The kit will translate the expression along with the markings.
What is the best paint type for a pet portrait?
Acrylic. For all the reasons noted earlier: fast drying, second-pass forgiving, layers cleanly, no smell to live with while you paint. Oil is for advanced painters who can plan weeks ahead. Watercolour can produce beautiful pet portraits but is technically harder to control on marking edges. Acrylic on a paint-by-numbers canvas is the friendliest surface for a first pet portrait, full stop.
If you have a specific dog or cat in mind, the custom kit turns a photograph into a numbered canvas in about a week. If you want a stock kit first to build confidence, the dogs collection and the cats collection are the places to start.
Pet portraits sit right at the heart of our paint by numbers for adults collection.
Beyond pets, our full range of paint by numbers kits covers landscapes, florals and more.