How to Paint a Dog: The Beginner's Path Around the Fur Trap
By Simon I., co-founder, Paint Kit Studio. Published May 31, 2026.
Key takeaways
- Most online dog-painting tutorials drill into fur. The fur is the trap. What actually carries dog recognition in a painting is the muzzle line and the eye-to-ear spacing, which together form the silhouette of the head from above the brow to below the snout.
- Get the muzzle and the eyes right and the painting reads as the breed across the room. Get them wrong and perfect fur will not save it.
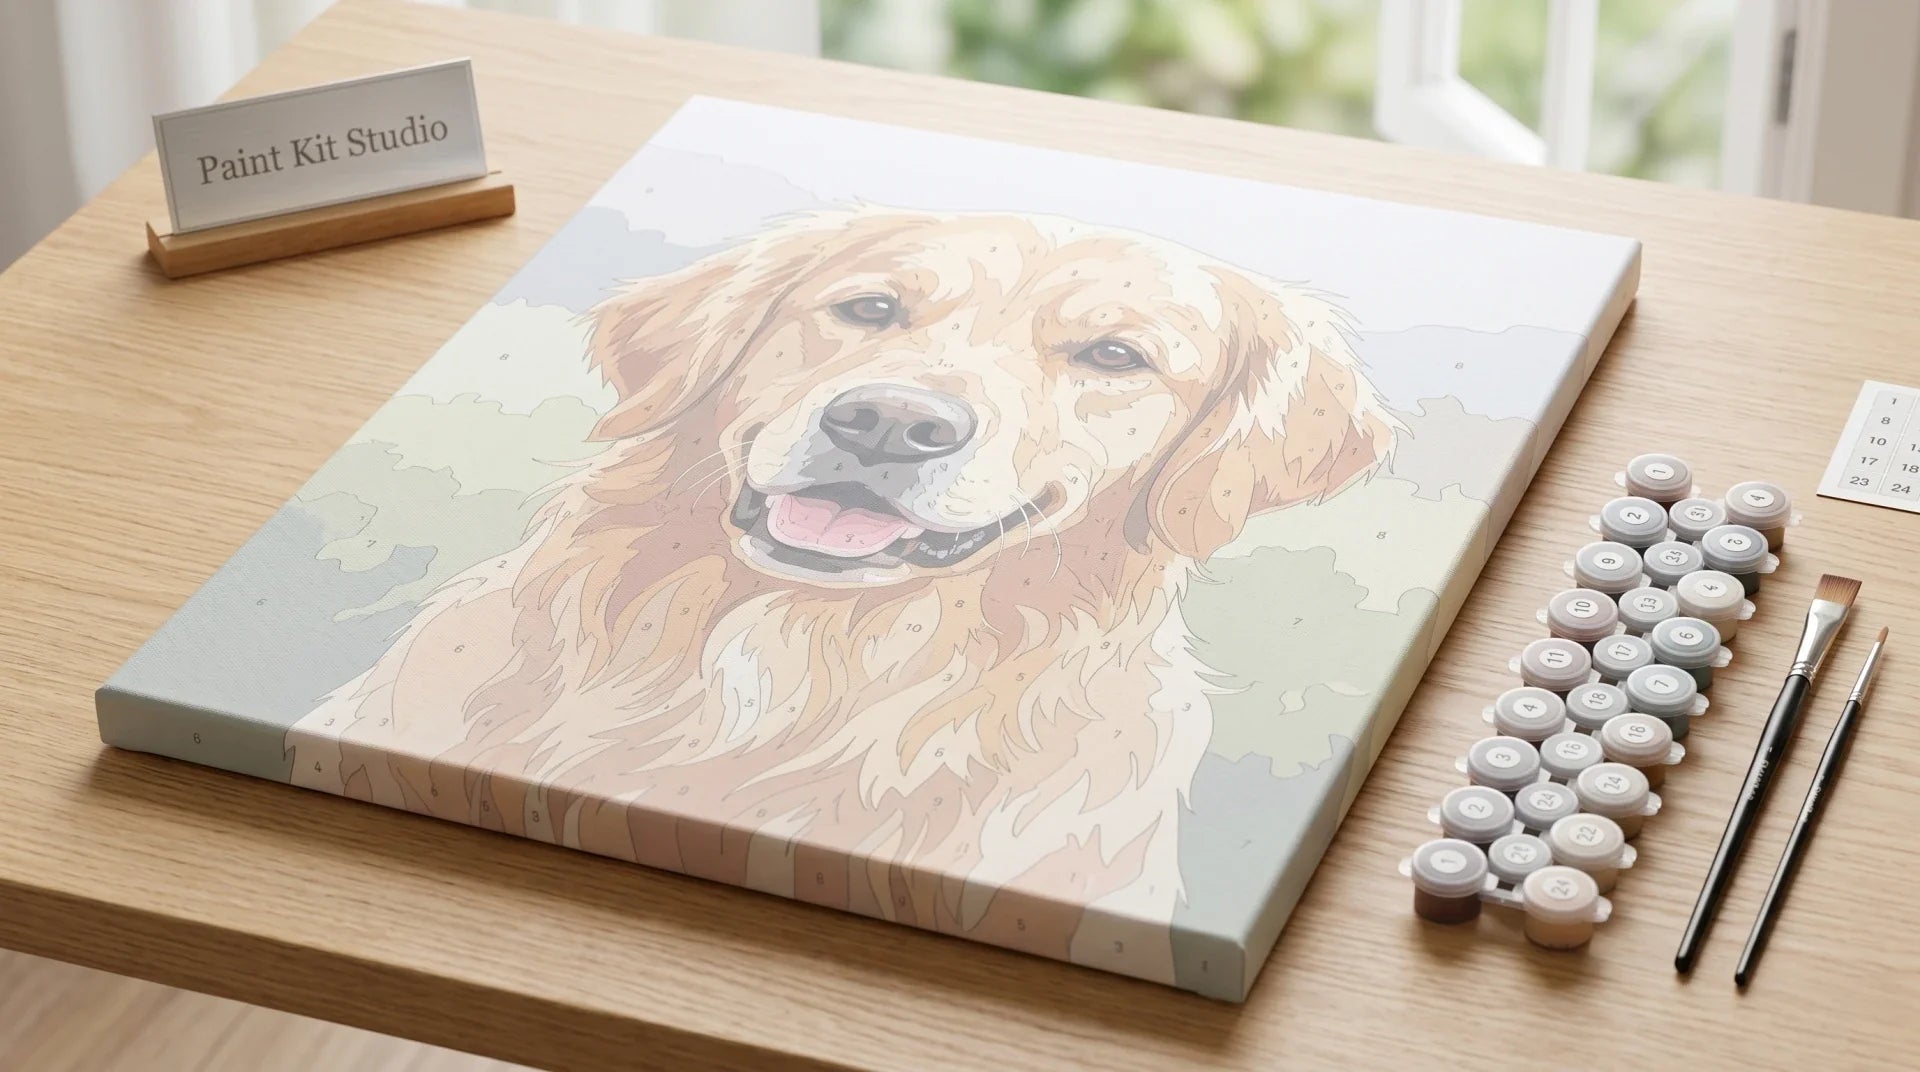
- Paint-by-numbers strips out two stalls at once. You do not draw the dog, and you do not pick the colours. What is left is the actual learnable skill: putting paint on the canvas in the right zone.
- The path runs from a sleeping dog (easiest, no eye expression to nail), through a profile portrait, into breed-specific silhouettes (dachshund, French bulldog, husky), and finally into a custom kit of your own dog from a photograph.
- The mistake nobody warns you about: painting the eyes too dark on the first pass. Acrylic dries lighter than it looks wet, and a darkened eye reads as dead. Mid-grey first, darken last.
Bottom line: dogs feel impossible to paint as a first project until you accept that the dog lives in the muzzle and the eyes, not the fur. The kit puts both in place for you so the painting can read as the dog you meant to paint.
A customer named Mark emailed us about Bear, his blue-eyed husky. Mark had ordered a custom kit. He was sitting at his kitchen table, looking at the canvas, and panicking. The fur looked wrong. He had spent two hours on the chest fur and it was reading as fluff, not husky. He wanted to know whether to scrap it and start over.
I asked him to look at the painting from the doorway, ten feet back, and tell me what he saw. He said he saw Bear. The muzzle angle was right, the eye spacing was right, the ears were tipped at the angle Bear actually held them. From three inches away the fur was a mess. From ten feet it was a husky. He kept going. The painting is now hanging in his hallway.
Mark's email is the article that follows. The fur is rarely the part that decides whether a dog painting works.
What actually carries dog recognition
If you go to YouTube and search "how to paint a dog", the top tutorials spend the first ten minutes on fur. Brush technique, fur direction, light reflection, the difference between a grainer brush and a fan brush. None of that information is wrong. It is just answering the wrong question for a beginner.
Recognition of a dog in a painting is carried by three things in roughly this order: the silhouette of the muzzle, the placement and shape of the eyes, and the angle of the ears. These three together form the dog's "head geometry". Get the geometry right and you can paint the rest of the dog with a broom and it will still read as a dog, even as the breed. Get the geometry wrong and you can paint each hair individually and the painting will look like a stuffed animal of a dog.
This is the same logic that drives why caricatures work. A caricaturist exaggerates the geometry and ignores the texture entirely, and the drawing is unmistakably the person. A bad realistic portrait can have every pore in place and still look like nobody.
Cats have a similar trick, by the way. Cat recognition lives in a tight face triangle: forehead, eyes, snout. Dogs are not the same. The dog muzzle adds a long axis that cats do not have. That axis is the most important line in a dog painting, and it is the one most beginners get wrong by tilting it a few degrees.

Why the fur advice from YouTube stalls beginners
It is not that fur technique is wrong. It is that you cannot learn fur on a first painting without learning everything else at the same time, and that is too much.
The standard fur tutorial assumes you can already draw the dog, that you have already mixed the right colours, that the proportions are sized to your canvas, that you know which areas are shadow and which are midtone. If any of that is shaky, the fur lesson is being applied to a foundation that is not there. The result is a painter who watches the tutorial, paints beautifully realistic fur, and ends up with a painting that does not look like any dog because the head underneath the fur is the wrong shape.
The customers who finish their first dog painting are not the ones who studied fur. They are the ones who stayed inside the lines and trusted the geometry the kit gave them.
The skill-isolation path
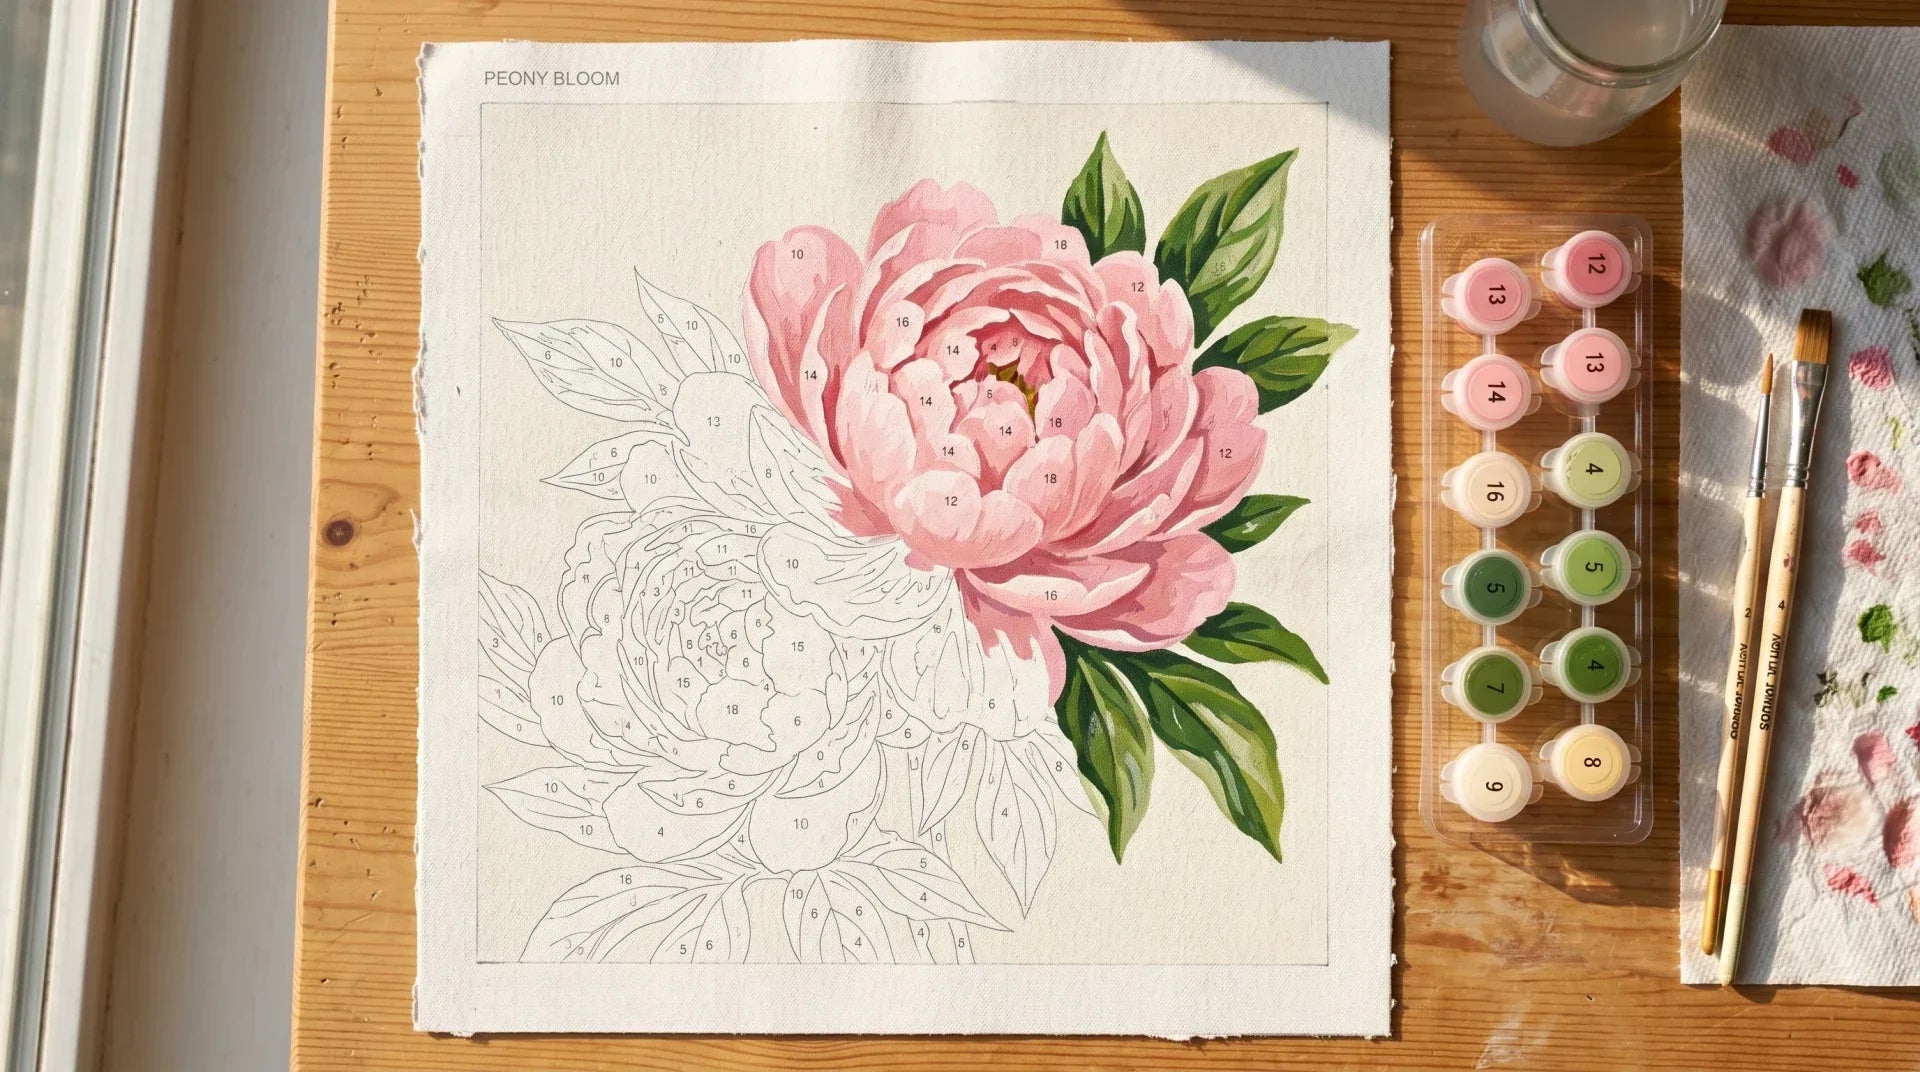
Paint-by-numbers was designed in the 1950s to teach paint application by stripping out everything else. You do not draw. The proportions are already on the canvas. You do not pick colours. They are matched and numbered. What you actually practice is the one thing painting is mostly about: getting the paint from the pot to the canvas inside a defined zone.
For dogs specifically, this means the muzzle geometry, the eye spacing, and the ear angle are not your problem to solve on your first attempt. They are pre-solved. Your job is to fill in the colour. By the time you have painted three or four dogs from kits, you have developed a feel for where the muzzle line goes and what proportion an ear should be on a head, and you are ready to draw one from a photograph.
This is exactly what most YouTube tutorials skip past. They jump to the technique stage. The kit is the four steps before that.
Where acrylic comes in, and why it forgives you
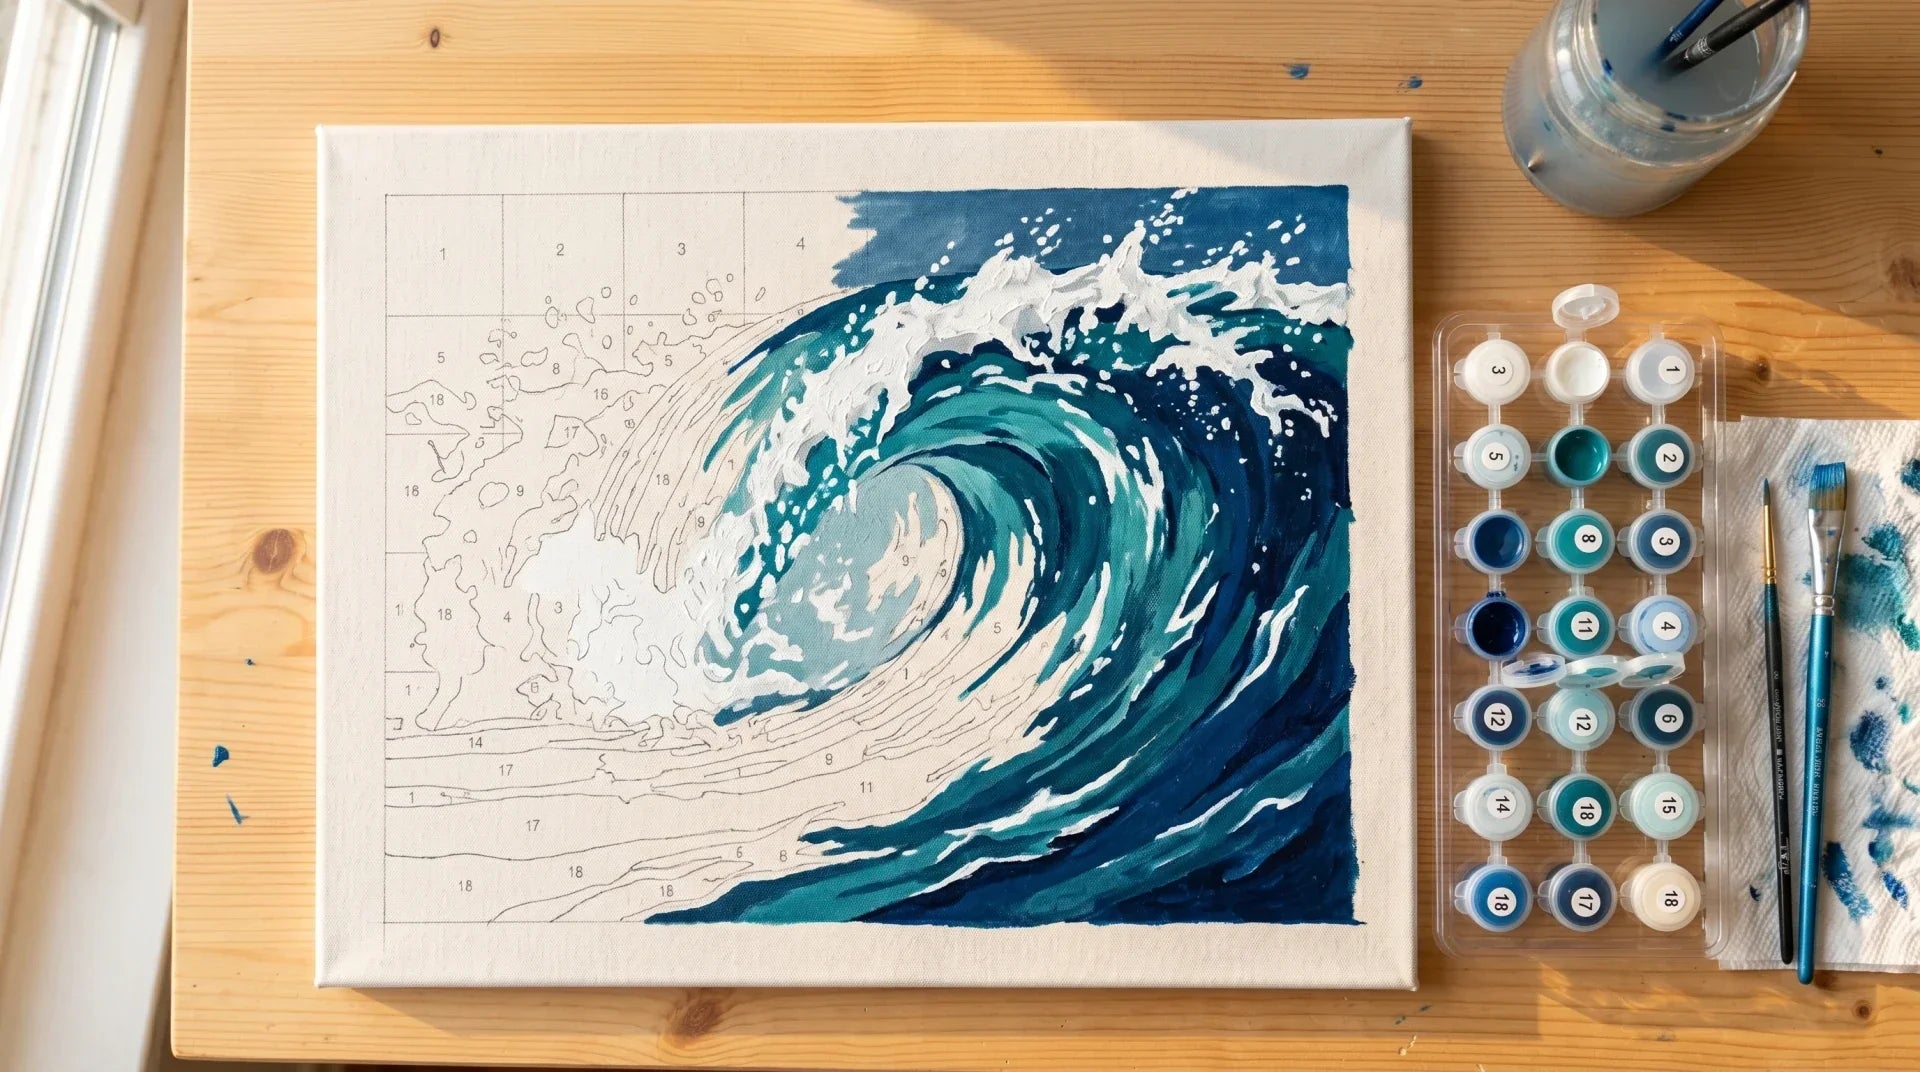
Our kits ship acrylic paint, not oil and not watercolour. There is a reason. Acrylic dries fast, layers well, and lets you paint over a mistake within the same evening.
The Smithsonian Museum Conservation Institute notes that acrylic paint "dries" by evaporation of solvent of water
and that acrylic emulsion films will always be soft at room temperature
(Smithsonian MCI). The soft, evaporation-dried film is what gives you the second chance. Painted the muzzle line a millimetre too wide? Wait twenty minutes and paint over it. The kit assumes you will need to do this.
Oil paint would have you waiting overnight, sometimes longer, for each layer to dry. Watercolour is unforgiving in a different way: a wrong stroke bleeds and you cannot fully reverse it. Acrylic on a paint-by-numbers canvas is the friendliest learning surface there is for dogs specifically, because the eye work and the muzzle line both need at least one revision pass on a beginner's first painting and acrylic lets you have it within the same sitting.
Eight dog subjects that teach you something
The path I would walk a first-time customer through, in roughly increasing order of what each kit asks of you.
The Sleeping Dog Portrait is the kit I send people who have never touched a brush. The eyes are closed, which removes the single hardest part of dog painting from the equation. What is left is muzzle and fur, and the sleeping pose gives you a forgiving angle for both. You can finish this kit in two or three evenings.
The Labrador Lake Portrait is a profile composition with the dog in a landscape. The lab silhouette is recognisable from a distance and the lake behind gives you a foreground-background separation to work on. Profile views are easier than three-quarter or front-facing portraits because the muzzle is in pure side view and there is no perspective to handle.
The Golden Retriever Sunflowers is the warm-palette kit. Goldens are forgiving because the breed itself is a colour gradient from cream to amber and the kit packs the right range of yellows and tans. The sunflowers in the background let you practice flowers in the same session, which gives the painting a wall-art feel that a pure portrait sometimes lacks.
The Floral Dachshund introduces a breed with one of the most distinctive silhouettes in dog painting. Britannica describes the dachshund as a long-bodied, characteristically lively dog with a deep chest, short legs, tapering muzzle, and long ears
, originally developed in Germany to pursue badgers into their burrows
(Britannica, "Dachshund"). Painting that body geometry from scratch is hard. Painting it from a kit, where the proportions are already correct, lets you focus on the colour transitions in the smooth coat without worrying about whether the legs are too long or the back too short.
The Colorful French Bulldog is the short-snout kit. Bulldogs and Frenchies pose a different problem: the muzzle is almost absent. Recognition flips from muzzle line to eye placement and the wrinkle pattern across the brow. The colour palette in this particular kit is stylised, not realistic, which makes it forgiving for a beginner because you are not chasing a literal photograph.
The Artist Husky Puppy is the eyes kit. Huskies often have striking eyes, and a puppy face has the wide-eyed proportions that make eye placement the most visible feature in the painting. If you have finished one or two earlier kits and want to practise eye work specifically, this is the one. Save the eyes for last and paint them with a small detail brush after every other area is fully dry.
The Yorkie Garden Dreams is the fur-heavy kit. Yorkies are long-coated, so most of the canvas surface is fur. This is the kit for the painter who has built confidence on three or four earlier dogs and is ready to put real time into fur layering. The garden setting gives you greens and small floral accents around the dog so the fur is not the whole painting.
The Christmas Puppies Paint is the gift kit and the multi-dog kit. Multiple dogs in a single composition is harder than one dog because each animal needs its own muzzle and eye geometry. This is the kit you send to someone you know loves dogs and has the patience for a longer painting, or that you paint yourself across two or three weekends as a piece for a child's bedroom or a holiday gift.
And finally, the custom kit. This is the path's endpoint and the one most customers actually arrive at us looking for. You send us a photograph of your own dog and we convert it into a numbered canvas with matched paints. Bear, Mark's husky, was a custom kit. We have done labradors at every age, golden retrievers that lived to fifteen, French bulldogs in Halloween costumes, and one greyhound that was the customer's late father's dog. The custom kit is the version of dog painting that hangs on the wall for the rest of your life.

The mistakes that quietly kill dog paintings
The fur problem is not really a problem on the first painting. The mistakes that actually finish a dog kit's chance of looking right are these.
The eyes too dark, painted wet. Acrylic looks darker wet than dry. A beginner paints the pupil in the first session, looks at it, decides it is too light, and adds more black. By the next morning the eye has dried significantly lighter than it looked at midnight, but the darkening pass is already there. The eye reads as a hole. Mid-grey on the first pass; come back the next evening and assess; only then push toward the darker number.
The muzzle line drifted by one degree. The kit's number outlines define the muzzle. If your brushstroke crosses the line by a millimetre, the muzzle angle shifts a degree. A degree on the muzzle is what separates a labrador from a husky. Stay inside the line. Slow down on the muzzle specifically; that is the line that carries the dog.
The ears finished too soon. Ears are the punctuation of a dog painting. Finished ears with unfinished body around them throw off the eye and read as cartoon. Paint the body and the head fur before you finish the ears.
The wet brush problem on fur. Acrylic loaded thick onto a brush, then dragged over numbered fur zones, picks up paint from the next zone and contaminates the colour. Light load. Multiple short strokes. Let the brush dry between zones. The fur looks better when it is painted in three thin passes than in one thick one.
The eyebrows skipped. Most beginners miss the small eyebrow zone above the eye because it is a tiny numbered patch. Skip the eyebrows and the dog's expression flattens. The eyebrows are what give the dog its mood. Paint them. The kit's number tells you where.
How long does a dog painting actually take?
Realistic numbers, based on customers writing in about timing.
A first sleeping dog kit takes around eight to twelve hours total, spread across three or four evenings. The painter spends the first session getting comfortable with the brushes, the second on background and body, and the third on fur and finishing touches. By the third evening the painter has started to enjoy the process and the kit feels easier.
A profile-portrait kit with eyes (Labrador Lake, Golden Retriever, Husky Puppy) is in the twelve-to-eighteen-hour range. The eye work alone is a long session because you cannot rush it and acrylic needs to dry between passes.
A breed-silhouette kit (Floral Dachshund, French Bulldog, Yorkie) is fifteen to twenty hours. The breed-distinctive shapes take longer because the colour transitions are more precise.
A multi-dog or gift kit (Christmas Puppies) is twenty to thirty hours.
A custom kit of your own dog is the wildcard. We have seen customers finish a custom labrador in two weekends and a custom golden retriever take three months. The variable is not the kit. It is whether the dog in the photograph means enough to the painter that they slow down on the eyes.
Frequently asked questions
Are dogs harder to paint than cats?
Dogs have a longer muzzle axis, which means there is one more line to get right than there is on a cat. Cats lean on the face triangle, which is a tighter geometry. Dogs lean on the muzzle line. Neither is harder in absolute terms. If you are choosing between a first dog kit and a first cat kit, choose the animal you actually want hanging on your wall. The painting that means something to you is the one that gets finished.
Should I paint my own dog from a photograph without a kit?
Eventually yes. On a first painting, no. Painting a beloved dog from scratch is the highest-stakes possible first project: you are emotionally invested, you know exactly what the dog looks like, and every mismatch shows up loud. A custom kit removes the drawing and the colour work and lets the emotional investment land on the part of the painting that you can actually control: the application. Most of our custom-kit customers tell us they could not have painted their dog without the kit removing the proportions question.
What if my dog painting still does not look like my dog?
Look at the painting from across the room. From close up, every dog painting looks slightly off. The painting is designed to be viewed from at least six feet away. If from across the room the painting reads as your dog, the muzzle and the eyes are correct and the rest will settle as it dries. If from across the room the painting does not read as your dog, the muzzle angle is the most likely culprit. Compare the angle of the canvas to the angle in the reference photograph. A degree off the muzzle line is usually the explanation.
Do I need to paint the background before the dog?
Yes. Always background first. The reason is acrylic's drying behaviour: a background painted around an existing dog will leave hairline gaps where the colours meet, and the gaps show up as white canvas peeking through. Background first means the dog gets painted on top of dry colour and the edges are clean.
What is the easiest dog breed to paint as a first kit?
A sleeping dog of any breed. Closed eyes remove the single hardest element. After that, a labrador or golden retriever in profile, because their silhouettes are forgiving. After that, anything with a distinctive geometry that the kit can solve for you. The kit pays its rent on the breeds you would never attempt freehand.
If your dog is not in our dogs collection, the custom kit turns a photograph of your own dog into a numbered canvas in about a week.
Dog portraits are among the most popular subjects in our adult paint by numbers kits.
Dogs are a favourite, but you will find every subject in our full paint by numbers range.
Border collie fan? Our border collie paint by numbers kit is one of the most popular single-breed designs we make.