How to Paint a Cat: The Honest Beginner's Path
By Simon I., co-founder, Paint Kit Studio. Published May 26, 2026.
A customer named Florence sent us a photo of her friend's cat about a year ago and asked us to turn it into a custom kit. She left a review afterwards that started, "I was a little apprehensive about how the final product would turn out." Which is the perfect description of how almost everyone approaches their first cat painting. Cats look easy until you try, and then they look impossible.
The thing that goes wrong is not what most tutorials warn you about. Open any "how to paint a cat" guide on the internet and you will get the same shopping list of advice. Block in basic shapes. Build up fur with directional strokes. Mind your lighting. Layer the paint. The advice is correct as far as it goes, but it is talking about a problem that only matters at the end. The problem that derails beginners is at the beginning, and almost nobody names it.
So this article is going to come at the question sideways. I want to talk about what actually makes a cat painting read as your cat instead of a generic cat, what the standard tutorials skip past, and where paint-by-numbers fits into the path. The list of beginner-friendly cat subjects is at the end. It is useful, but it is not the point.
What actually carries cat recognition
Something nobody told me before my first cat painting, that I now wish they had. You can do a perfect job of every patch of fur on the canvas, and if the eyes are wrong by even a small amount, the painting will not look like your cat. You can do a sloppy job of the fur and a decent job of the eyes, and the painting will read as your cat from across the room. The eyes are doing most of the work, with the bridge of the nose and the angle of the ears doing almost everything else.

This is not me being romantic about cats. It is a basic fact about how humans recognise faces, including animal faces. The brain locks onto a triangle of eyes-nose, decides "yes, that is the cat we know," and then fills in the rest. Get the triangle right and the painting works. Get it wrong and the rest of the painting can be perfect and you will still feel something is off. Most tutorials spend forty minutes on fur technique and three sentences on the face. The ratio should be the other way round.
The corollary is the bit that helps a beginner the most. The fur is forgiving. You can paint it loosely, you can suggest texture rather than render every hair, and the painting still reads correctly so long as the face does. This is why a paint-by-numbers cat looks like a cat to anyone who walks past it, even though the painter has not drawn a single fur stroke from scratch. The numbered zones place the colour blocks where they need to go; the eyes, nose, and ears do the recognition work; the fur is along for the ride.
The advice that gets repeated, and why it stalls beginners
The standard "how to paint a cat" tutorial assumes you can already draw a cat. That is the gap. A beginner sits down with a blank canvas and a reference photo, and the tutorial says, "Lightly sketch the basic shapes." This is the part that takes a serious painter ten years to make look easy. The cat's head is not a circle. The skull has a structure, the ears sit at specific angles, the eyes are placed at a specific height. Sketching that from a flat photograph is its own skill, and most beginners give up at this stage.
Even when they push through the sketch, the colour problem hits next. A cat's fur is not one colour. A grey tabby has at least six greys in it, plus a warm cream under the chin, plus a faint pink in the nose and inner ears. Mixing those greys from a tube of black and a tube of white produces flat dead colour. Real fur reads as alive because the painter chose six slightly different greys, each leaning a little warm or a little cool. A beginner does not know which way to lean, and the painting comes out looking like a charcoal sketch.
The third stall is texture. A cat has short fur, long fur, smooth fur on the bridge of the nose, ruffled fur around the chest. Every section needs a slightly different brush motion. A beginner who has read "use directional strokes" applies one stroke length to the whole cat, and the painting comes out looking like a stuffed animal, all one fabric.
Three separate skills, three separate stall points, and they are happening on top of each other in the same forty minutes. Telling someone to "just start with the basic shapes" is asking them to solve all three at once.
The skill-isolation path
The path that works, and the one I have watched dozens of first-time cat painters actually finish, looks like this. Start with a paint-by-numbers cat. Use the structure to get the shapes and the colours decided for you. Focus your brain only on the act of laying paint into a bounded zone, not on what colour goes where or where the eye should sit. Do this once or twice with stock kits. Then graduate to a custom paint-by-numbers of your own cat from a photo, where the shapes are still pre-drawn but the colours are specifically matched to that cat. Then, if you want, try freehand.
This is the same approach that the original 1950s paint-by-numbers kits were designed around. Smithsonian Magazine tells the story of Dan Robbins at the Palmer Paint Company, who built the format specifically so adults could practise paint-handling without also having to draw and choose colours at the same time. The company had sold around twelve million kits by 1954, almost entirely to people who had never picked up a brush. The framing was not "cheating at painting." It was "isolating the part you are actually learning."
For a cat painting in particular, the isolation is doubly useful. The face triangle, which is the part that carries the recognition, is already placed correctly for you. You cannot put the eyes too close together. You cannot make the bridge of the nose the wrong length. The kit has done that work. What you bring to it is the careful application of paint into those bounded zones, especially the small ones around the eyes and ears where a beginner's brushwork most affects the final read.
Where acrylic comes in, and why it forgives you
One quick note on the medium, because it matters. Paint-by-numbers kits ship with acrylic paint, and acrylic is what makes the whole beginner path possible. The Smithsonian's Museum Conservation Institute notes that artists' acrylic paint was introduced in the 1950s, around the same time the kits became a phenomenon, and the two are connected. Acrylic dries fast, you can paint over a mistake half an hour later, and it does not require the solvent setup that oil paint demands. For a beginner painting a cat, this means you can mess up the eye, walk away for fifteen minutes, and paint over it. Oil paint would punish you for the same mistake by mixing wet-into-wet and turning the whole eye area to mud.
I bring this up because it changes the stakes of a first cat painting. You are not making one careful decision per brushstroke and living with it forever. You are making fifty decisions, most of which you can revise. That mental posture is the thing that lets beginners keep going past the first stumble.
Eight cat subjects that teach you something
Right, the listicle. I have ranked these in roughly the order a first-time painter should hit them. The "what it teaches" line matters more than the subject itself.

1. A sleepy cat curled up. A curled cat is mostly one big shape with fur direction running consistently around the curve. It teaches you the directional-stroke idea without forcing you to also decide where the face goes, because the face is small and tucked in. Our Sleepy Cat kit is the one I would put a first-timer on.
2. A close-up of cat eyes. If you want to skip straight to the part that actually carries recognition, do a portrait that is mostly eyes. You will pay a lot of attention to those zones because they are the painting. Try Adorable Kitten Eyes, which is built around exactly this idea.
3. A black-and-white cat with strong markings. Cats with clean colour blocks teach you edge work without subtle blending. The boundary between white chest and black face is a sharp line you can put down with one careful stroke. Cats with gradient markings are harder; save them for later.
4. A grumpy or expressive face. Painting a cat with personality forces you to pay attention to the geometry that creates the expression. The eye angle, the position of the whiskers, the corner of the mouth. Once you notice how a few millimetres change the read, you cannot unsee it. Our Grumpy Cat Wine kit is the obvious example.
5. A cat in a recognisable setting. Cats in gardens, kitchens, on windowsills. The background gives the painting a story, but it also splits your attention between cat and not-cat, which is good practice. Try Cat Garden Fountain or Bathroom Cat Reading for two very different mood readings.
6. A breed-specific portrait. Once you have done three or four general cat kits, try a breed-specific one. Siamese, Persian, tabby. The fur patterns get specific and you start noticing what makes a particular kind of cat that kind of cat. Our Siamese Cat Watercolor kit is a soft watercolour-look subject that pairs well with this stage.
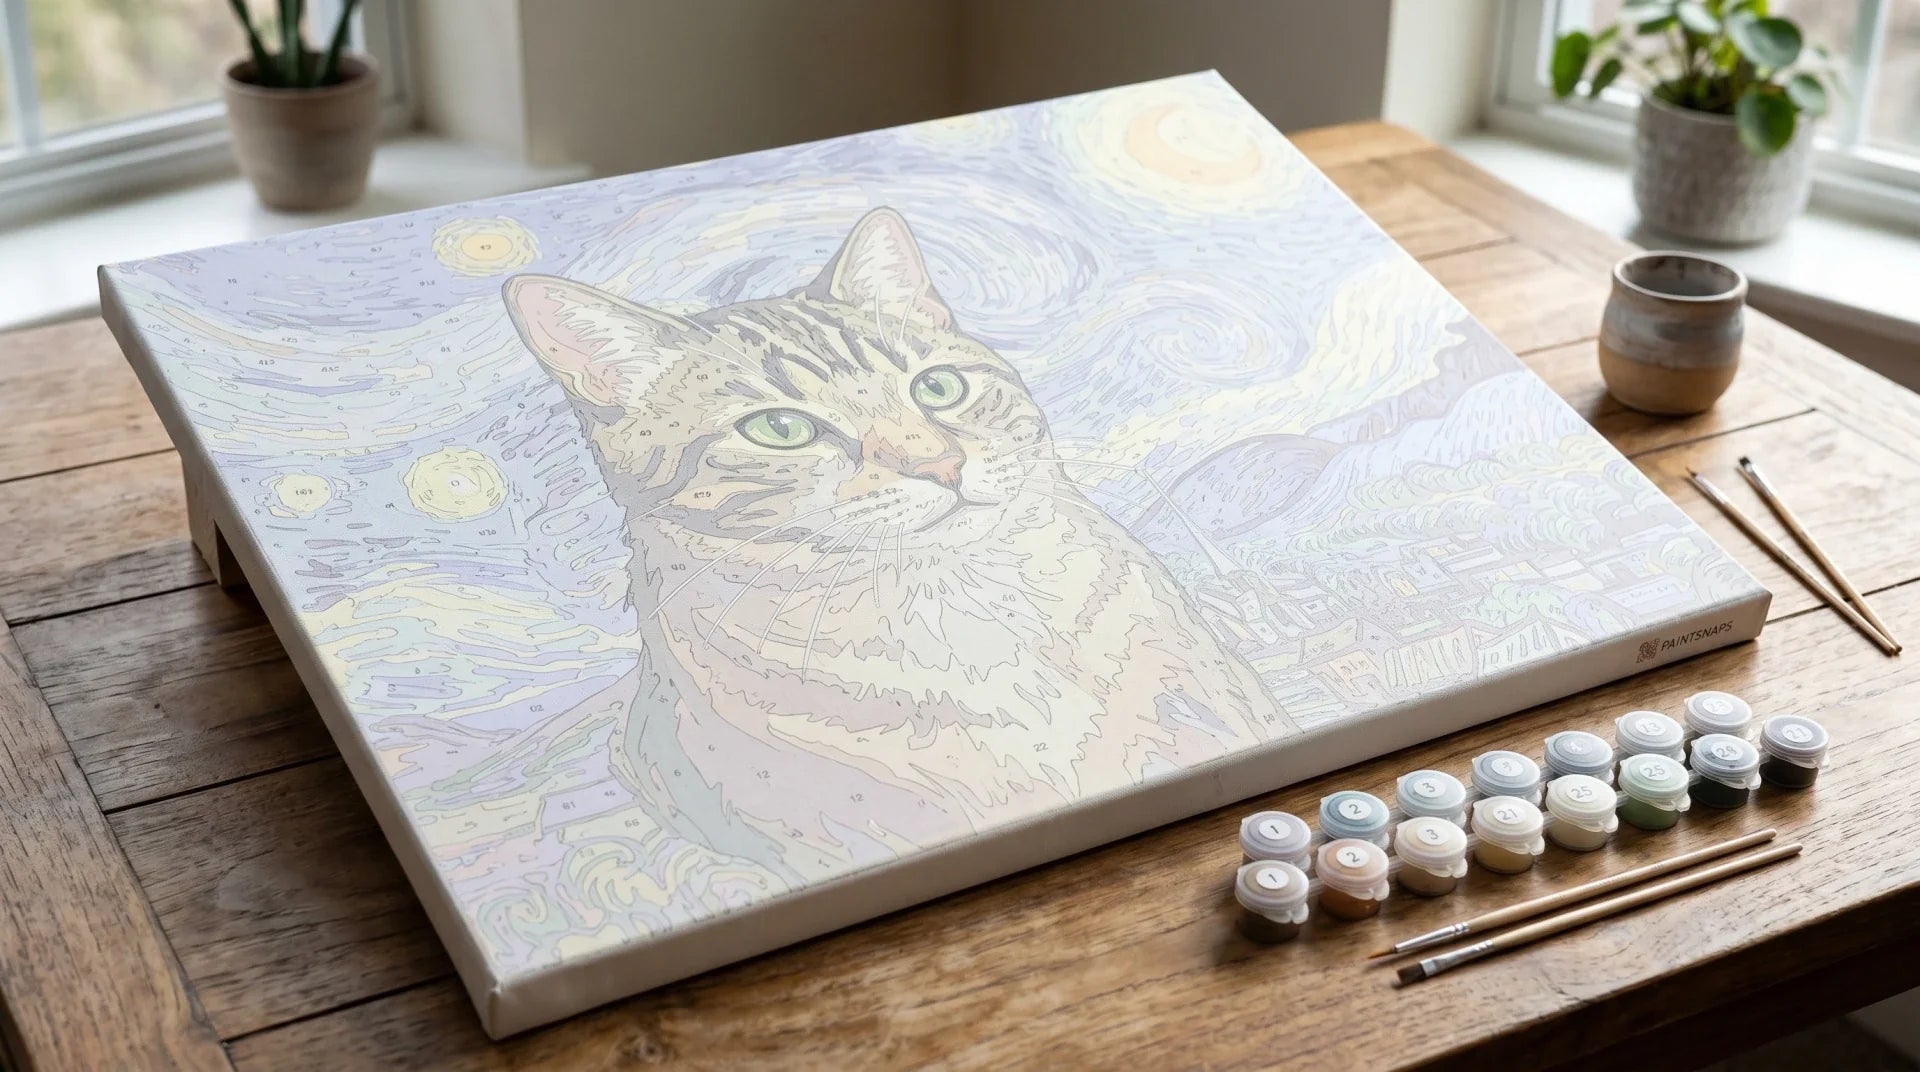
7. A cat homage to a famous painting. This is for after you have done a few cats and want a little fun. We have a Cat Pearl Earring kit modelled on Vermeer's painting, and a Starry Night Cats kit modelled on Van Gogh. These are visual jokes, but they also teach you that cat-recognition still works even when the rest of the painting is doing something stylised.
8. A custom kit of your own cat. The destination. By this point you have learned how a cat painting comes together, and now you can apply that to a portrait of your actual cat from a photograph. We turn the photo into a numbered canvas with colours matched to your specific cat, which removes the drawing-and-colour-decision stages so you can focus on what you have already practised. See the custom kit if this is the project you are working toward, or browse the wider cats collection if you want to start with a stock subject first.
The mistakes that quietly kill cat paintings
Five things I see most often, none of them the dramatic mistakes people worry about.
Painting the eyes last. The conventional wisdom is to work from background to foreground, big shapes to small detail. For a cat, this means the eyes are painted at the end, when your hand is tired and the rest of the painting is already on the canvas. The result is fatigued, rushed eye work, which is the one zone you cannot afford to rush. I would do the eyes second, right after the background but before any other body detail, while your attention is still fresh. Then go back to the larger areas.
Mixing grey from black and white. Greys made this way are dead. Real cat-grey has either a warm cast (a touch of brown or yellow) or a cool cast (a touch of blue or violet), and which way it leans matters. The kits ship the right greys already mixed; trust them. If you ever start mixing your own, mix from raw umber plus a little white plus a tiny bit of ultramarine for a cool grey, or from raw umber plus white plus a tiny yellow ochre for a warm grey. Avoid black-plus-white for any cat colour.
Putting whiskers down too early. Whiskers go on dead last, after everything else is fully dry, with a fine brush and watered-down white paint. If you put them down before the surrounding fur is set, they smear, and a smeared whisker is the most unforgiving mistake in cat painting. Worst case, mask them with a tiny dot of dark and try again on top once everything cures.
Painting on a too-small canvas. Small canvases punish the small precision required for a cat face. A six-by-six panel will magnify every wobble in your brushwork. The 16-by-20-inch canvas size we ship most kits in is more forgiving and gives you room for the larger background areas, which is where most of the canvas time is spent. Bigger is friendlier for cats.
Letting your hand drag through wet paint. When you are painting a face, your hand is hovering over completed body areas. The temptation to rest your wrist on the canvas is real. Resist it. A small tilted easel or a clean cloth under your wrist helps a lot. Alternatively, lay down a protective sheet of paper that just covers the completed body sections while you work on the face.
How long does a cat painting actually take?
For a stock paint-by-numbers cat at the 24-colour level, somewhere between eight and twelve hours, spread over a few sittings. A 36-colour cat, with finer fur gradation, is closer to twelve to eighteen. A 48-colour custom of your own cat, where you are paying real attention to every small zone because it is your cat, can easily run twenty hours and feel like fewer.
The numbers matter less than the rhythm. The painting you finish is the one you can leave out on a side table and come back to in the evenings. The one you pack into a box on day two does not get finished. This is the single strongest predictor I have seen across our customer messages.
Frequently asked questions
Are cats harder to paint than dogs?
For a beginner, cats are easier than dogs. Cats have cleaner edges, less complex fur direction, a more compact head geometry, and a smaller variety of poses to learn. Dogs have floppy ears, varied snout shapes, and a wider range of expressions that depend on body language as much as face. Both are harder than landscapes, but cats are the more forgiving entry point.
What is the best cat colour for a first painting?
A black-and-white cat, a tabby with clear stripes, or a solid orange tabby. These have strong colour blocks that read well even with imperfect blending. Avoid all-white cats, all-black cats, and tortoiseshells for your first painting. White cats need careful shadow work, black cats need careful highlight work, and tortoiseshells require navigating dozens of subtle colour transitions.
Do I need to paint the background before the cat?
Yes, almost always. Background goes first because it sets the tone of the painting and because painting around an already-completed cat is much harder than painting a cat over a completed background. The one exception is if the background is solid and you would rather avoid the "edge halo" that happens when background paint creeps under the cat outline. In that case, paint the cat first and the background second, taking care at the boundary.
Can I paint my own cat from a photo without a kit?
You can, after a few practice kits, but the gap between "I have painted three cats from kits" and "I can paint my own cat from a photo freehand" is bigger than it looks. The kit handles the drawing, the colour matching, and the proportions. Going freehand asks you to do all three at the same time, plus the paint application. Most painters who try this on their first attempt produce something they call "abstract" and quietly put away. The intermediate step is a custom paint-by-numbers of your own cat, where the photo becomes a numbered canvas and you only have to do the painting part.
What if my cat painting still does not look like my cat?
Check the face triangle first. Eye spacing, eye height, the angle and width of the bridge of the nose. If any of those are off by even a small amount, the painting will read as a generic cat. The fur is rarely the problem. If the kit you used had the geometry right and the painting still does not feel like your cat, the fix is usually a small adjustment to the colour temperature around the eyes, or a slightly darker accent on the bridge of the nose.
Cats are one of the most forgiving subjects in our adult paint by numbers kits, which is why we point nervous beginners there first.
Cats are just one corner of our wider paint by numbers collection.